Are you having trouble multitasking and looking for a way to force Android allow apps to run in background? Here’s our complete guide on how to stop, manage, and allow apps to run in background on Android.The smarter our Android apps become, the more these apps rely on background data and in-app services. These apps run in background at the expense of your smartphone’s powerful processors and plentiful RAM storage. While there are plenty of task managers to confuse, you don’t anything other than the built-in advanced features of your Android.However, sometimes you need to make Android allow apps to run in background to keep certain apps and services working efficiently. While Android comes with the ability to send and receive push notifications, features like battery saver and Doze Mode cause these apps to shut down by force when not in use.Here is a no-hassle guide on how to make Android allow apps to run in background, along with the option to manage your background apps for efficient battery usage. More than just giving you an overview of how much battery is being consumed by a specific app, Process Stats helps you view the amount of RAM being gobbled up by the apps.
 The “Process Stats” will give you a fair idea of which apps take up the most RAM storage, and “Battery Storage” will help you see which app is leeching on your battery life. If any of the apps that you don’t really use all the time is taking a significant portion of your RAM and battery use, it’s probably good to uninstall it.
 Although Greenify needs root access to give you full control of your Android, you can still use the basic features on your non-rooted device. Even without root access, you can hibernate all your background apps with the tap of a single button.Exactly opposite to this, you can also whitelist apps that you wish to spare the task killing ability of Greenify. For instance, if you want WhatsApp to not be affected by automatic hibernating and keep in running in the background, you can exempt it and make Android allow apps to run in background while still keeping a close watch on other apps.
 While the power-saving features are too good to get rid of completely, you can limit their effect on the apps that you want to keep running in background. In order to make Android allow apps to run in background, you must disable this battery optimization feature for the selected apps.
 Albeit the ability to clear background data by simply pressing a button is useful, but not always a smart choice for keeping a certain app working efficiently. Since these task killer apps kill all background data indiscriminately, there’s no way for you to keep a specific app running in the background.Unless you’re stuck with an Android device that has less than 2GB of RAM onboard, you won’t really need task killer apps to give you a speed boost. If your main concern is keeping an app or service alive in the background at the expense of some battery consumption, uninstall apps like Clean Master, DU Cleaner, Speed Booster and others.
Get more information on apps with Process Stats
If you’re looking to diagnose your installed apps to find out which one of them consumes the most amount of resources, you don’t need to go further than the Settings menu. Out of all the great features that are built into the hidden Developer options menu, the best one for the job is Process Stats.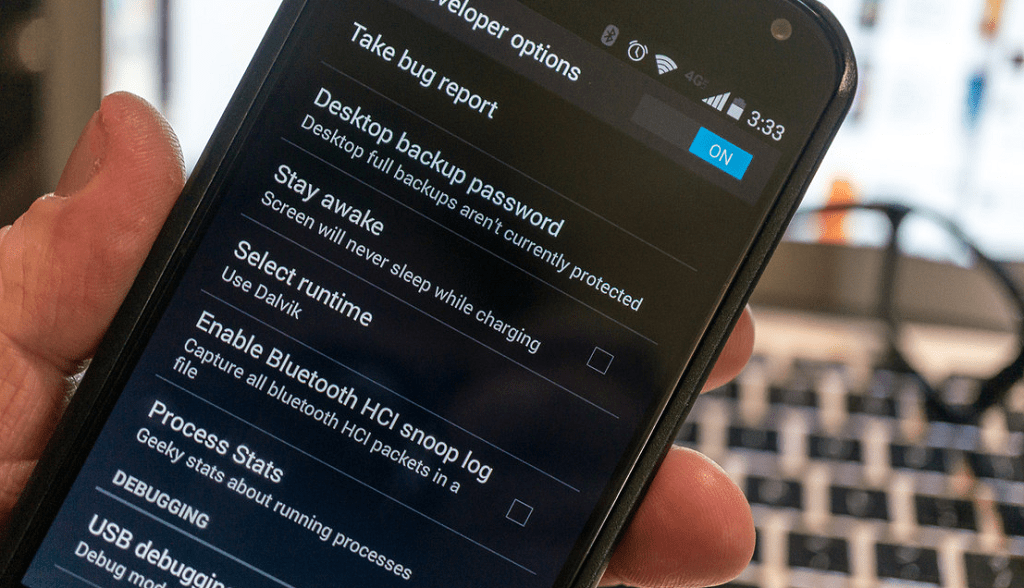 More than just giving you an overview of how much battery is being consumed by a specific app, Process Stats helps you view the amount of RAM being gobbled up by the apps.
- To find out which apps have the permission to run background processes, you must enable “Process Stats” from the Developer Options.
- If you don’t have the Developer Options enabled already, go to the Settings -> About Device and tap “Build number” until you see the message – “You are now a developer”
- Now go to Settings > Developer Options > Process Stats and find out how much of your available RAM storage on your Android phone.
- Apart from the amount of RAM storage your apps use, you can also view how much battery they use by opening Settings > Battery.
Android apps that should be running in the background
Background memory and battery usage are heavily affected by games and large apps, especially the ones that you don’t regularly use. Apps such as for music player and instant messengers that are constantly using your battery and RAM for background processes.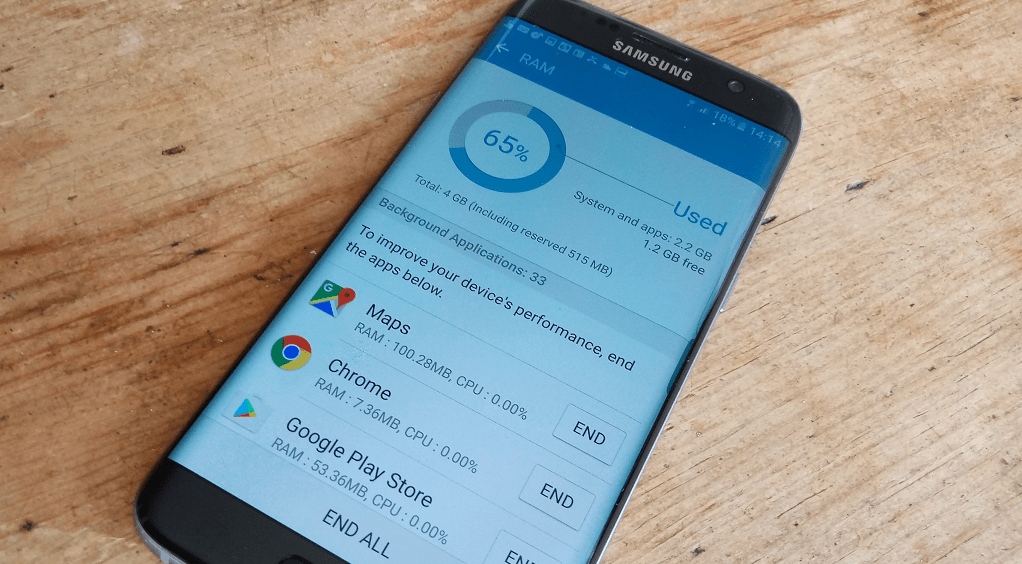 The “Process Stats” will give you a fair idea of which apps take up the most RAM storage, and “Battery Storage” will help you see which app is leeching on your battery life. If any of the apps that you don’t really use all the time is taking a significant portion of your RAM and battery use, it’s probably good to uninstall it.
- Google Play Services, Google Contacts Sync, Google Keyboard, Google Search and any other app starting with “Google” is good to stay.
- However, you can always choose to Force Stop Google-related apps like Google Play Music and Google Play Books, in case you don’t use them very often.
- The only apps you should be targeting and stopping from running in the background are games, media player apps and apps that require a constant network connection.
Stop and Disable Android apps running in the background
Once you have identified the culprit app that is slowing down your smartphone and leeching on your battery, it’s time to put your foot down.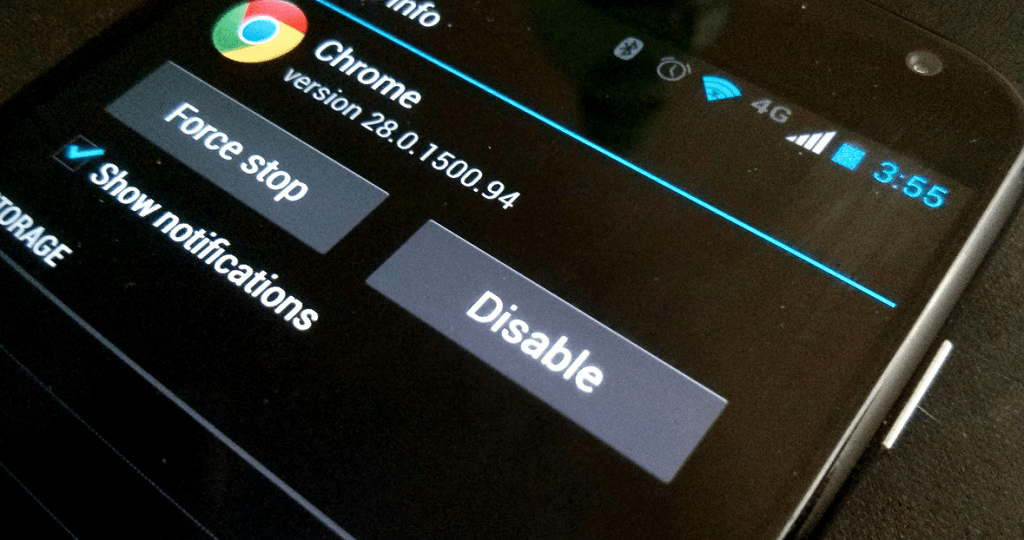
- To disable an app, go to Settings > Applications > Application Manager. Tap on the culprit app and press the “Disable” button to put a stop to it. To remove the app for good, you can simply press the “Uninstall” button in the Application info window.
- In case you want to stop apps running in the background, simply tap on the “recent apps” navigation button and swipe the app card left or right to force stop it.
Use Greenify to manage apps running in background
If you need some automation to manage apps with backgrounding, Greenify free Android app to help you put your apps to “sleep” when you aren’t using them. The app brings “Force Close” and “Disable” feature of the Application Manager automatically, making app management a breeze.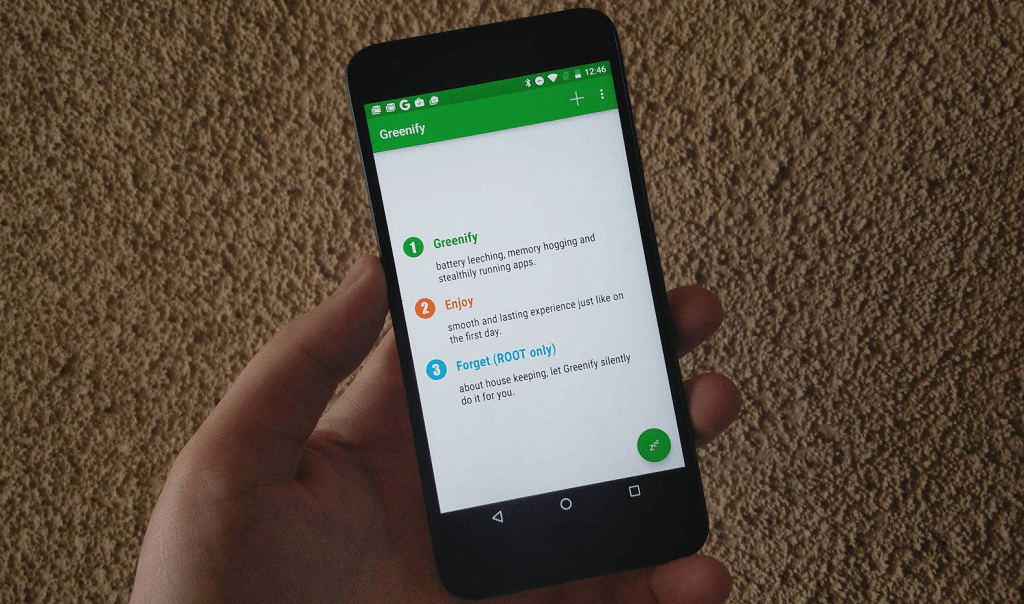 Although Greenify needs root access to give you full control of your Android, you can still use the basic features on your non-rooted device. Even without root access, you can hibernate all your background apps with the tap of a single button.Exactly opposite to this, you can also whitelist apps that you wish to spare the task killing ability of Greenify. For instance, if you want WhatsApp to not be affected by automatic hibernating and keep in running in the background, you can exempt it and make Android allow apps to run in background while still keeping a close watch on other apps.
How to make Android allow apps to run in background
A simple search on Google will show you hundreds of posts on how to stop apps running in the background. However, there’s very little information on how you can make Android allow apps to run in background, since the battery-efficient features of the OS are designed to do the exact opposite.Keeping a certain app running even when it isn’t being actively used can be an important trick to learn. That's why we’ve sifted through the internet to get you three ways to do it.Method 1: Disable Battery Optimization for the specific app
With the advent of Android 6.0 Marshmallow, Google introduced features such as Doze Mode and App Standby to get more juice out of each battery cycle. Both of these power-saving features are excellent to get you through the day on a single charge, but can also become the culprit.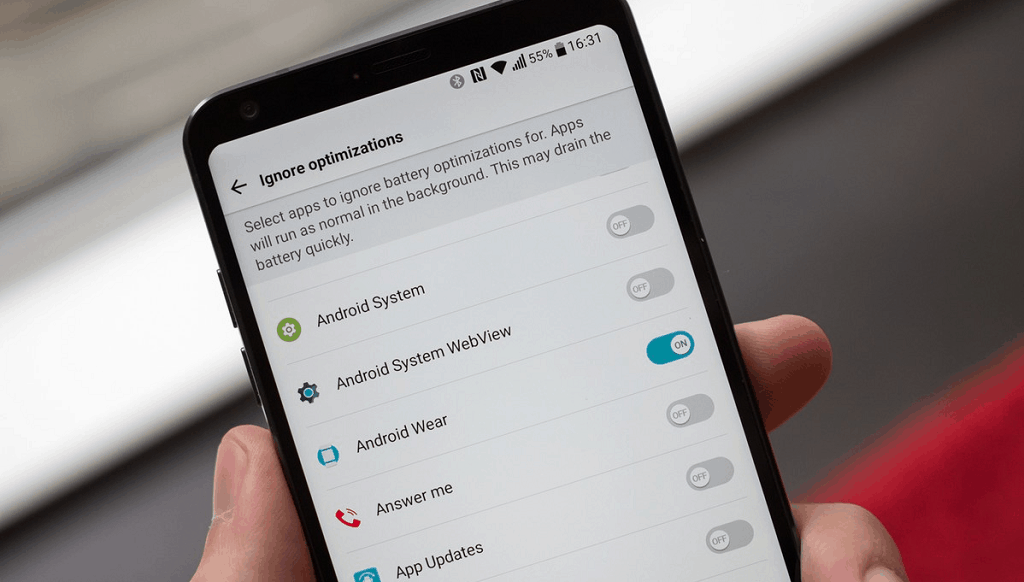 While the power-saving features are too good to get rid of completely, you can limit their effect on the apps that you want to keep running in background. In order to make Android allow apps to run in background, you must disable this battery optimization feature for the selected apps.
How to Disable Battery Optimization
- From the home screen of your Android device, head over the Settings app and scroll down to access the “Apps” entry.
- Press the gear icon on the top-right corner of the screen and then press the “Battery optimization” tab.
- Press the drop-down menu icon, select “All apps” option and scroll through the list to find your desired apps.
- Tap on the app icon you want to configure, select “Don’t optimize” and press “Done” to confirm your action.
Method 2: Avoid using task killer apps
The sheer popularity of task killer on Android has not only forced Google to adopt the feature natively but encouraged app developers as well. This is the very reason you can find free task killer apps a dime and dozen on the Google Play Store.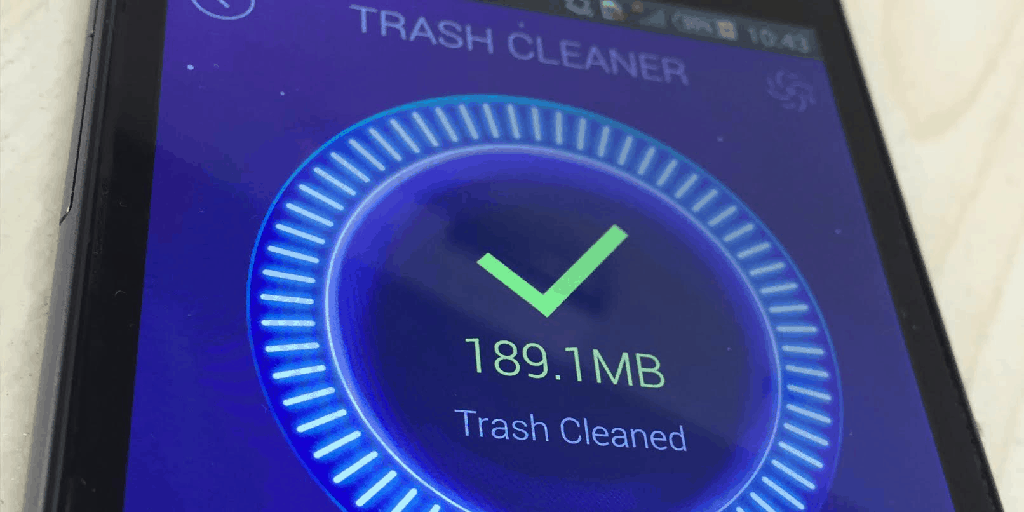 Albeit the ability to clear background data by simply pressing a button is useful, but not always a smart choice for keeping a certain app working efficiently. Since these task killer apps kill all background data indiscriminately, there’s no way for you to keep a specific app running in the background.Unless you’re stuck with an Android device that has less than 2GB of RAM onboard, you won’t really need task killer apps to give you a speed boost. If your main concern is keeping an app or service alive in the background at the expense of some battery consumption, uninstall apps like Clean Master, DU Cleaner, Speed Booster and others.
Method 3: Using the Memory Locker app (root required)
While Android has given you complete and unprecedented access to kill background apps, it does not extend the same courtesy when you want to keep apps from being killed. As the story goes, for every restriction that Android OS puts forward, there is a method to bypass it with the help of root access.The same applies for when you want to make Android allow apps to run in background, thanks to the Memory Locker app. However, since the app requires root access to bypass Android OS restrictions, it isn’t a universal solution for all users.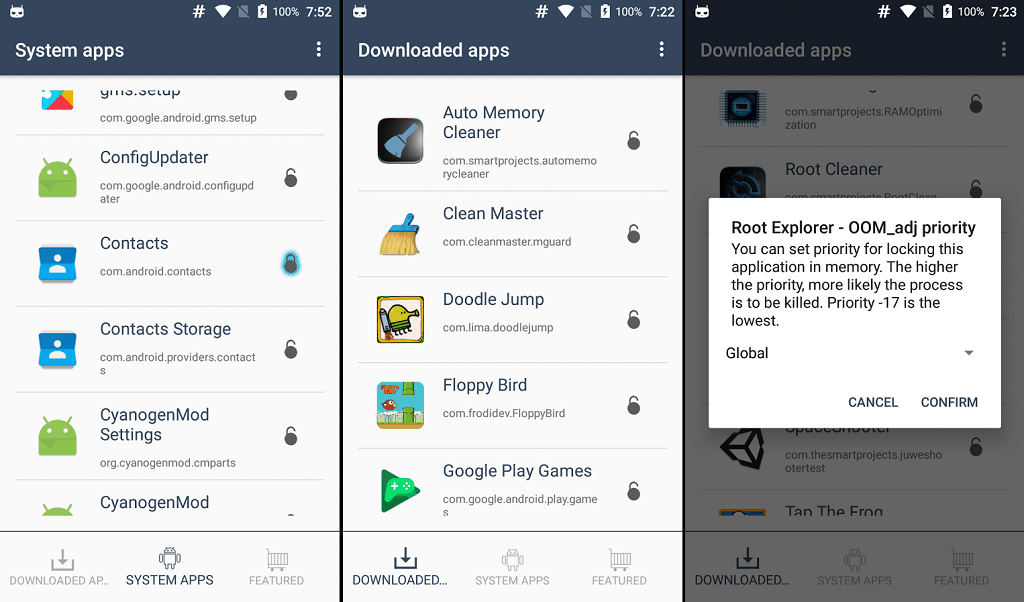
How to use Memory Locker With a Rooted Phone
If you have a rooted phone already, go ahead with the steps below, or learn how to root Android the easy way with our guide.- Download Memory Locker on your Android device for free from the Google Play Store using this link.
- The first time you launch the app, you will need to grant it superuser access, so make sure you hit the “Grant” button on the pop-up window.
- All the apps installed on your device are listed in the Memory Lock app under “Non-system apps” that you have installed, and “System apps” that came installed on the device right out of the box.
- In order to make Android allow apps to run in background, all you need to do is press the open padlock icon right next to them.
- Once the open padlock changes and you get the “Locked” pop-up notification on your screen, you’re all set!
- Repeat the final step to enable background activity for as many apps as you need and Memory Locker will take care of the rest.
Wrapping Up
That's all for now. Feel like we forgot to mention something important? Got anything wrong? Then let us and everyone else know about it in the comments section down below!Like what you see? Then don't forget to follow us on Facebook and Twitter for the latest news, reviews, listicles, apps, games, devices, how-to guides, and more!Similar / posts
Multitasking with Android – how to make Android allow apps to run in background and manage them effectively
May 30th, 2016
Updated on June 10th, 2020
Multitasking with Android – how to make Android allow apps to run in background and manage them effectively
May 30th, 2016
Updated on June 10th, 2020
Multitasking with Android – how to make Android allow apps to run in background and manage them effectively
May 30th, 2016
Updated on June 10th, 2020