Method 1: Change boot animation manually
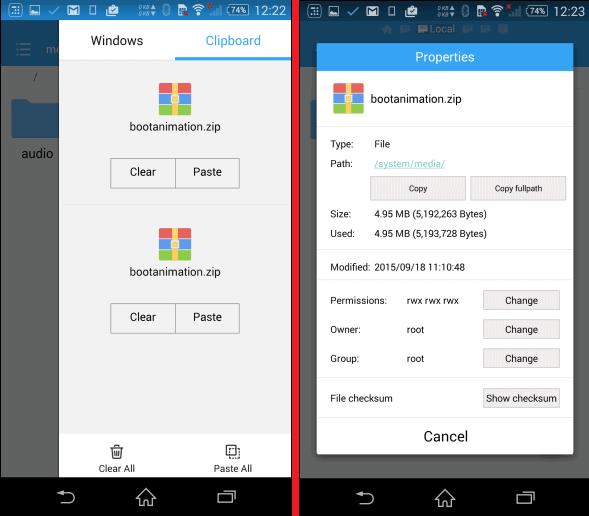
While changing the boot animation manually may seem like a mammoth task, it is as easy as replacing a file. To do so, all you need is a file manager and the desired boot animation, along with a rooted Android device.Start off by installing any of the best Android file managers that come with root permission support. Once you have downloaded the file manager, open it and grant the app Superuser permission to view and edit root files.The second part comes down to downloading the boot animation you want to install on your device. You can find a massive collection of original and custom boot animations on the XDA Forum. Simply download the boot animation file from the XDA Themes section, or AndroidBootAnimation using the link given below.Download boot animation from XDA
Download boot animation from AndroidBootAnimation
Method 2: Change boot animation using Boot Animations app
If you’re planning to keep changing your boot animation every now and then, Boot Animations is the app you need. This app requires root access, and comes with several custom boot animations that allow you randomly customize the boot image.
Download Boot Animations from the Google Play Store
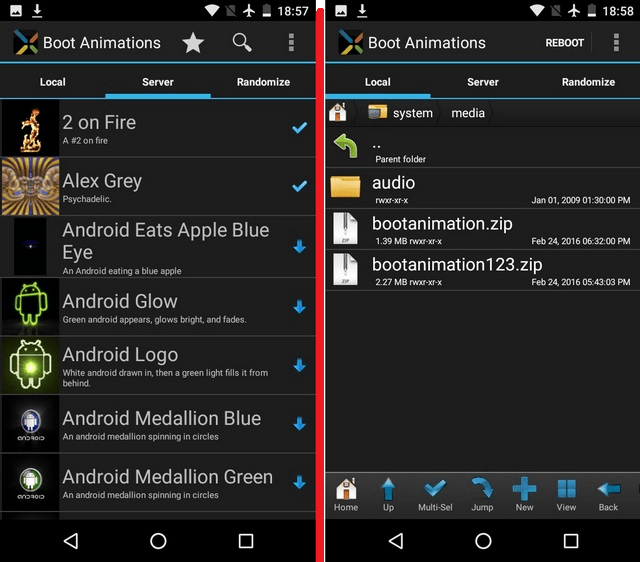
Boot Animations has a file manager built into it under the “Local” tab, which allows you install the downloaded boot files. While the “Server” tab gives you complete access to dozens of boot animations available online.Whereas, the “Randomize” tab ensures a different boot animation every time you reboot the device. You can simply tap on the boot animation, select “Install” and your new boot animation will be installed directly.

