Accidents happen to the best of us. When selecting a folder full of photos, all you need is one misclick to delete everything. True, a warning box comes up but most of us actually ignore it. No wonder why Android photo recovery is such a hot subject. So, how do we restore deleted pictures? Well, let us find out! Don't write anything. It's very important. If your photos were stored on your SD card, then don't touch it. Same thing for the internal storage.Though, to be honest with you, if your photos were stored on your internal storage then that further complicates things and chances are that you'll be forced to install a program on it for photo restoration. Not to mention that temporary/cached files always come and go into the internal storage which makes things worse.Last, but not least, do understand that recovering deleted files is not guaranteed to work. You're sort of making a gamble here but a little something is always better than nothing.If you're interested in the details on how Android photo recovery works and why you shouldn't write anything when you want to perform it, then move on towards the end of the article after the how-to guide is over.
 Back to the guide now. There are two main methods to restore deleted photos or any kind of deleted file really:
 If your photos are stored on your SD card, then using a PC is the recommended method for Android photo recovery. You only need a working computer that has an SD card slot and at least Windows 7 installed.Other than that, you'll also need a microSD card adapter so that you'll be able to use your microSD card on your PC. You can see how that looks in the image above.In the rare case that your computer doesn't actually have an SD card slot, then you'll have to get an SD to USB adapter. They are relatively inexpensive and they get the job done.Other than that, some phones do also support USB simulation where you connect your phone to your PC and the computer recognizes your SD card as a sort of USB flash drive. So, you can use that as well if you've got that option.Now, if your PC doesn't even have a single USB port, then you need to seriously consider an upgrade. Just joking - you can move on to the 2nd method which doesn't involve using a PC.Speaking of upgrades, you don't really need a powerful computer or anything. If your machine can take an SD card in any way and runs anything from Windows 7 and above, then it's likely suitable for this job.
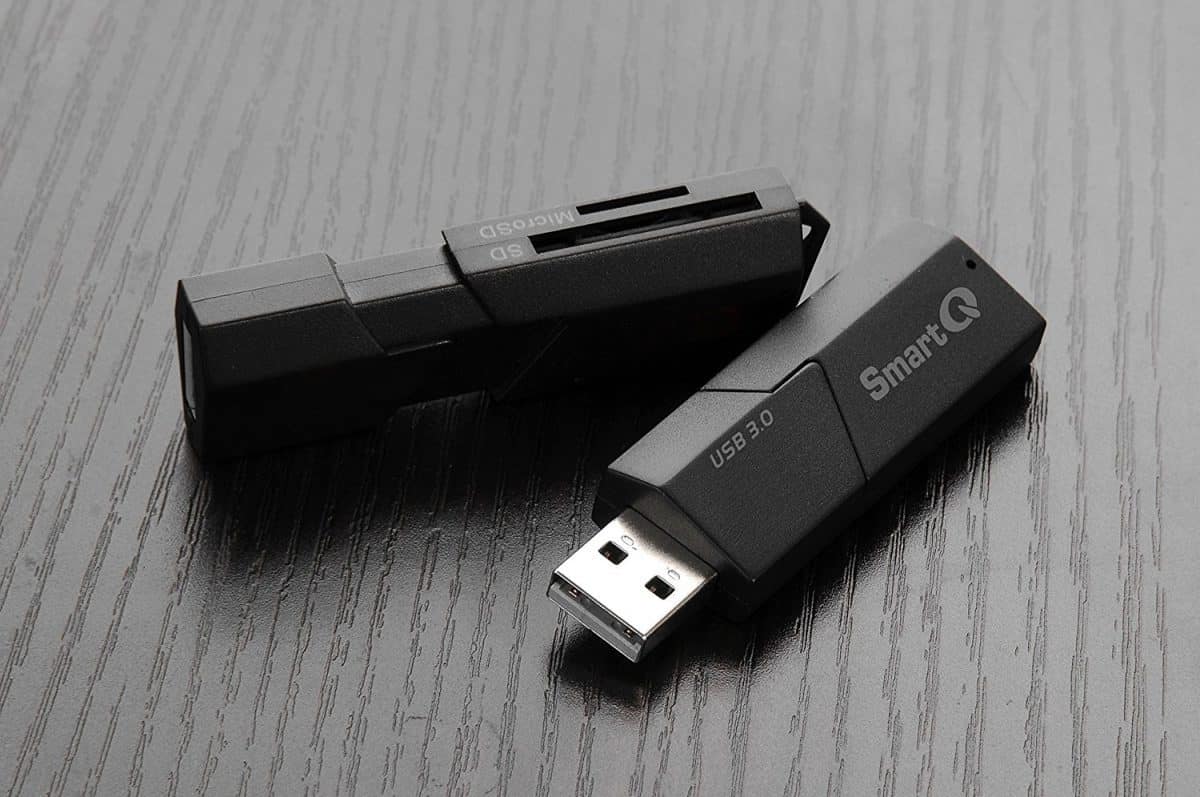
 You've got the hardware. All that you need to do now is to install the software. There are various file restoration programs out there for computers with Recuva being one of the most popular ones - not to mention that it offers a free version as well.With that being said, while we do recommend Recuva, you can install whatever it is that you prefer. After the installation is complete, move on to the 2nd step.
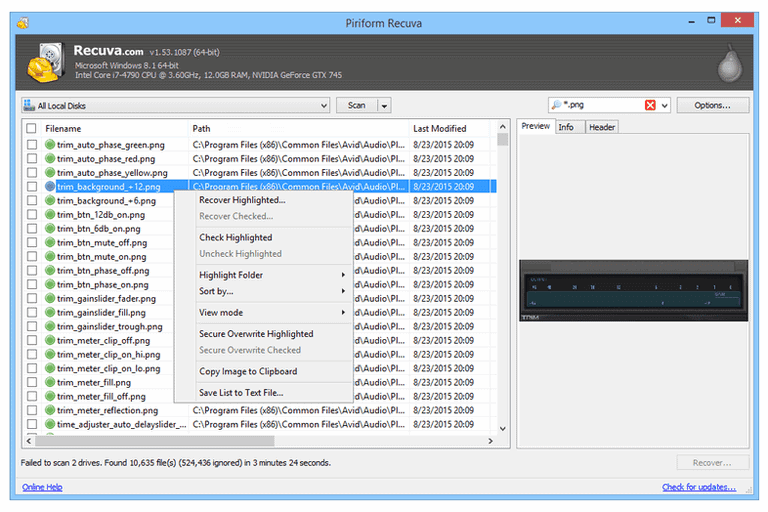
 As we mentioned above, you need specific tools to connect a microSD card to a computer. That, or you can connect your phone directly to the USB port of your computer. However, your device must support USB drive emulation or this will likely not work.After connecting your microSD card to your computer, all you need to do is follow the instructions of the specific software that you installed to restore your deleted files.In the case of Recuva, after selecting to scan for deleted files, you'll see that different photos have different colors. Red means that a file can't be recovered, yellow means that it can be partially recovered, and green means that it can be fully recovered.
 The steps are very easy to follow in this one as you don't need any additional hardware and you're likely already very familiar with how the Google Play Store works:
 Deleted photos are, well, deleted. Right? So, how can you possibly restore something that's gone?In reality, you don't actually delete your photos or anything for that matter. Sorry to break it to you but that includes your confidential "cough" porn "cough" files as well.Upon the deletion of a file, both computers and phones mark that deleted file as free space that can be used for storing other data. That, of course, is oversimplifying things, to say the least. But, you do get the point.Different operating systems and devices handle things a little bit differently. However, the end result is more or less the same.And by the way, that's why we told you not to write anything on your storage before. Because when you want to perform data restoration on any kind of storage device, writing anything else on it puts you at risk of overwriting the deleted files that you want to restore.Data restoration programs that also work for Android photo recovery search for the deleted files that have yet to be replaced by different files and allow you to restore them when possible.Fun fact: there are also programs that have been made with the purpose of completely and truly deleting a file so that nobody will ever be able to find it.Some operating systems like Windows also allow you to move your unwanted files into a recycle bin so that you can decide later on if you really want to delete them or not and that prevents accidental deletions.There are Android apps like Dumpster that are trying to achieve the same result. But, do keep in mind that they don't always work.
Before moving on with Android photo recovery
 Don't write anything. It's very important. If your photos were stored on your SD card, then don't touch it. Same thing for the internal storage.Though, to be honest with you, if your photos were stored on your internal storage then that further complicates things and chances are that you'll be forced to install a program on it for photo restoration. Not to mention that temporary/cached files always come and go into the internal storage which makes things worse.Last, but not least, do understand that recovering deleted files is not guaranteed to work. You're sort of making a gamble here but a little something is always better than nothing.If you're interested in the details on how Android photo recovery works and why you shouldn't write anything when you want to perform it, then move on towards the end of the article after the how-to guide is over.
How to perform Android photo recovery - different methods and tools that you'll need
 Back to the guide now. There are two main methods to restore deleted photos or any kind of deleted file really:
- Using a PC
- Installing a file restoration app from the Play Store
First method: using a PC
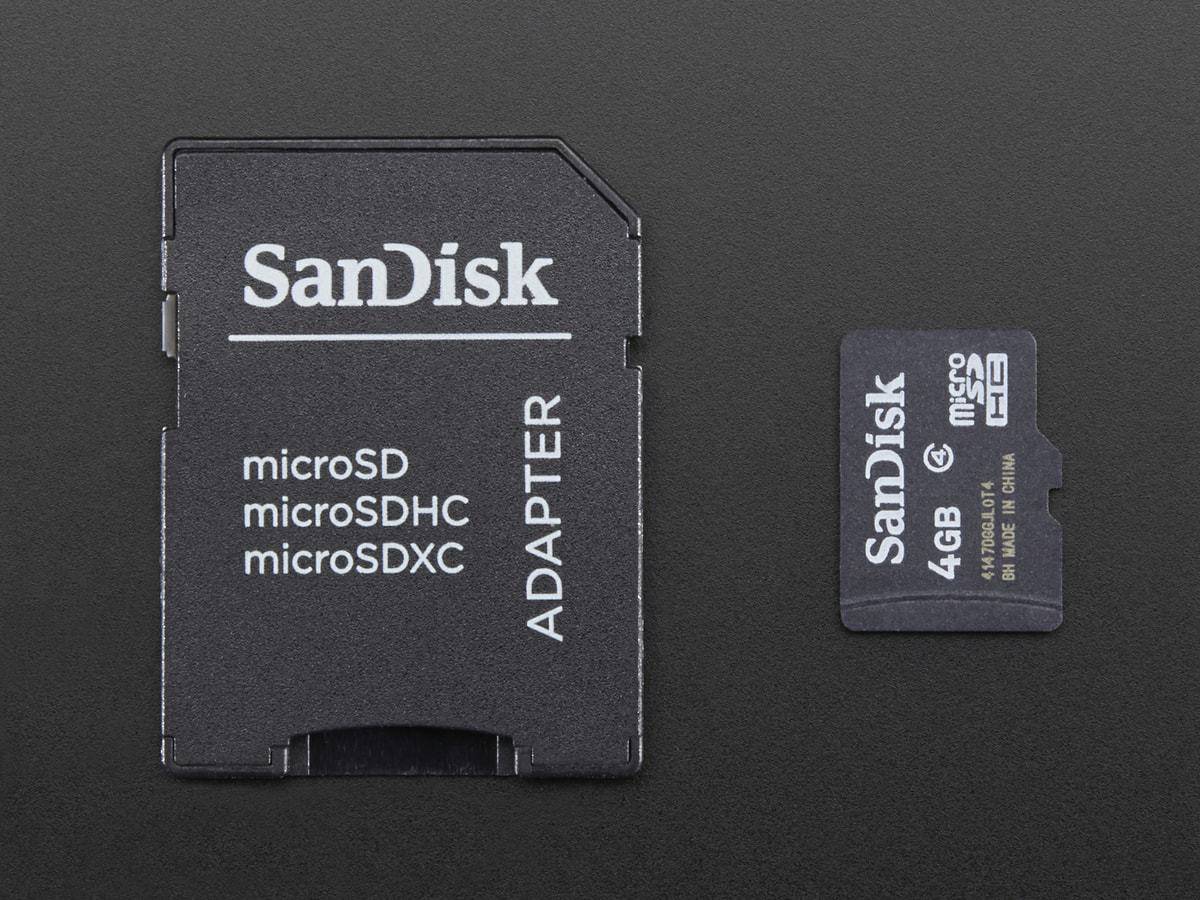 If your photos are stored on your SD card, then using a PC is the recommended method for Android photo recovery. You only need a working computer that has an SD card slot and at least Windows 7 installed.Other than that, you'll also need a microSD card adapter so that you'll be able to use your microSD card on your PC. You can see how that looks in the image above.In the rare case that your computer doesn't actually have an SD card slot, then you'll have to get an SD to USB adapter. They are relatively inexpensive and they get the job done.Other than that, some phones do also support USB simulation where you connect your phone to your PC and the computer recognizes your SD card as a sort of USB flash drive. So, you can use that as well if you've got that option.Now, if your PC doesn't even have a single USB port, then you need to seriously consider an upgrade. Just joking - you can move on to the 2nd method which doesn't involve using a PC.Speaking of upgrades, you don't really need a powerful computer or anything. If your machine can take an SD card in any way and runs anything from Windows 7 and above, then it's likely suitable for this job.
1. Install file recovery software
 You've got the hardware. All that you need to do now is to install the software. There are various file restoration programs out there for computers with Recuva being one of the most popular ones - not to mention that it offers a free version as well.With that being said, while we do recommend Recuva, you can install whatever it is that you prefer. After the installation is complete, move on to the 2nd step.
2. Connect your microSD card to your computer and proceed with the photo recovery
 As we mentioned above, you need specific tools to connect a microSD card to a computer. That, or you can connect your phone directly to the USB port of your computer. However, your device must support USB drive emulation or this will likely not work.After connecting your microSD card to your computer, all you need to do is follow the instructions of the specific software that you installed to restore your deleted files.In the case of Recuva, after selecting to scan for deleted files, you'll see that different photos have different colors. Red means that a file can't be recovered, yellow means that it can be partially recovered, and green means that it can be fully recovered.
3. Success?
Hopefully this worked out for you. If not, well, do understand that Android photo recovery - or any kind of file recovery really - is not guaranteed to work 100% of the time.In case that you failed but still got hope then you can give our second method a try as well. But, if the PC failed at restoring your deleted pictures, then we're sorry to inform you that your phone will likely not do anything better.Second method: using your phone along with a file restoration app
If your photos are stored to your internal storage, then this is the way to go. It usually doesn't work as well as the PC method, but if that's your only choice, then so be it.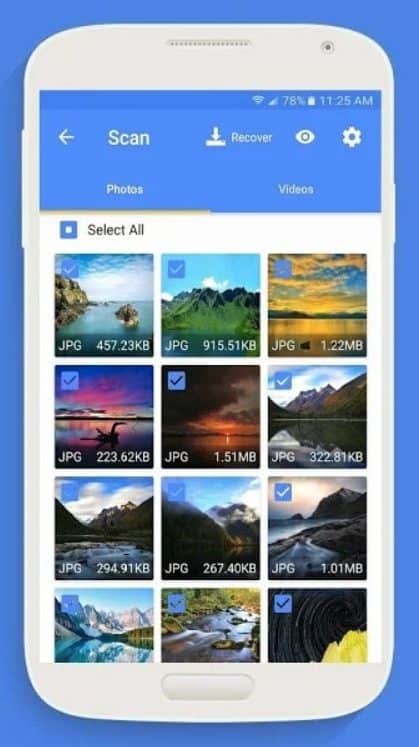 The steps are very easy to follow in this one as you don't need any additional hardware and you're likely already very familiar with how the Google Play Store works:
- Install the file restoration app of your choice
- Proceed with restoring your photos
- Success?
How does Android photo recovery work?
 Deleted photos are, well, deleted. Right? So, how can you possibly restore something that's gone?In reality, you don't actually delete your photos or anything for that matter. Sorry to break it to you but that includes your confidential "cough" porn "cough" files as well.Upon the deletion of a file, both computers and phones mark that deleted file as free space that can be used for storing other data. That, of course, is oversimplifying things, to say the least. But, you do get the point.Different operating systems and devices handle things a little bit differently. However, the end result is more or less the same.And by the way, that's why we told you not to write anything on your storage before. Because when you want to perform data restoration on any kind of storage device, writing anything else on it puts you at risk of overwriting the deleted files that you want to restore.Data restoration programs that also work for Android photo recovery search for the deleted files that have yet to be replaced by different files and allow you to restore them when possible.Fun fact: there are also programs that have been made with the purpose of completely and truly deleting a file so that nobody will ever be able to find it.Some operating systems like Windows also allow you to move your unwanted files into a recycle bin so that you can decide later on if you really want to delete them or not and that prevents accidental deletions.There are Android apps like Dumpster that are trying to achieve the same result. But, do keep in mind that they don't always work.