From the freedom that rooting brings to the refreshed user experience of a custom ROM, Android surely has its perks. One such perk is the ability to add music visualizer to navigation bar with CyanogenMod, which will surely excite the audiophiles.You guessed it right, we are here to help you get this unique music visualizer on your regular Android device. While you won’t be needing a custom ROM for this guide, you do need root access enabled and the popular Xposed Module installed. You will be able to see all the available versions of the module in the list form, so tap on the “Download” button next to the most recent version. Once the download completes, go ahead and press the “Install” button to get NavBar music visualizer on your device.
 There aren’t many options that you can play around, however, you probably want to check out the “Dynamic color” menu. By using the “Current mode” option you can choose to keep the color of the music visualizer static, customize it according to album art, or keep it random with Rainbow mode.
 Since the module has root access, it should work with almost all the popular music player apps. So do let us know if you loved this guide on how to add music visualizer to the navigation bar on Android.
Things you will need:
- An Android device running Android 5.0 Lollipop or higher.
- Root access enabled on the device.
- “Unknown Sources” enabled from the Settings->Security menu.
- Xposed Framework installed onto the Android device.
Step 1: Download NavBar Music Visualizer to your device
On your Android device, head over to the Xposed Installer app and navigate to the Download menu. In the search bar, type in “NavBar music visualizer” and tap on the first result that shows up. You will be able to see all the available versions of the module in the list form, so tap on the “Download” button next to the most recent version. Once the download completes, go ahead and press the “Install” button to get NavBar music visualizer on your device.
Step 2: Configure and add Music Visualizer to Navigation Bar
Once you have installed the module and your device boots up, go ahead and open the NavBar music visualizer app from the app drawer. Admittedly the interface is a bit unconventional, but you can navigate easily by swiping right and left on the screen.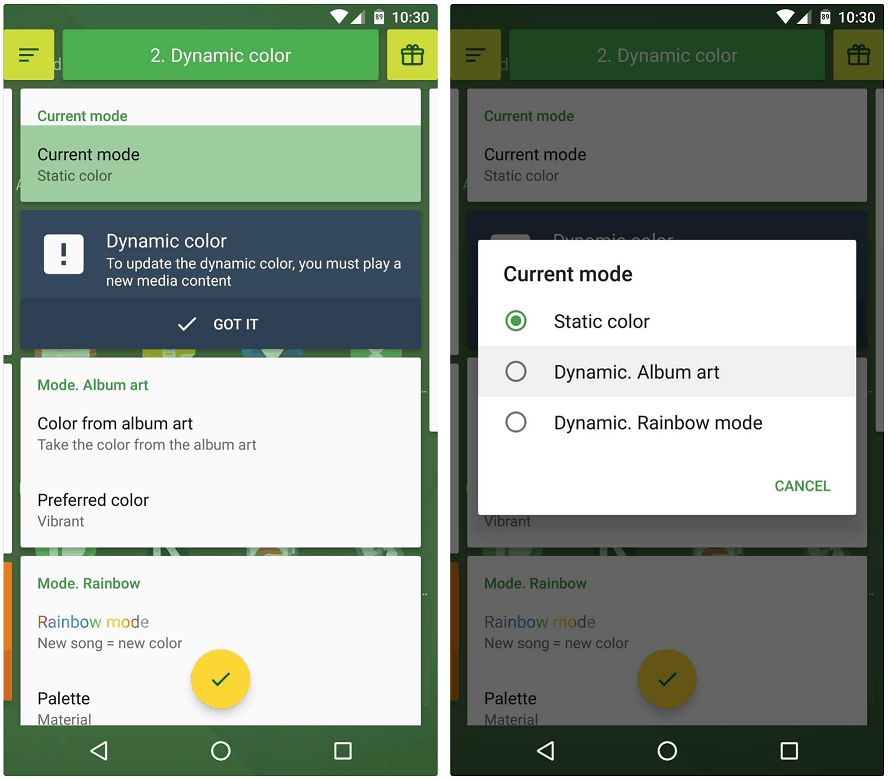 There aren’t many options that you can play around, however, you probably want to check out the “Dynamic color” menu. By using the “Current mode” option you can choose to keep the color of the music visualizer static, customize it according to album art, or keep it random with Rainbow mode.
Step 3: Play Music and see the Visualizer
With all the settings configured, head over to your native music player app and hit play on your favorite music track. You will see the navigation bar immediately light up and see a music visualizer overlay on the screen.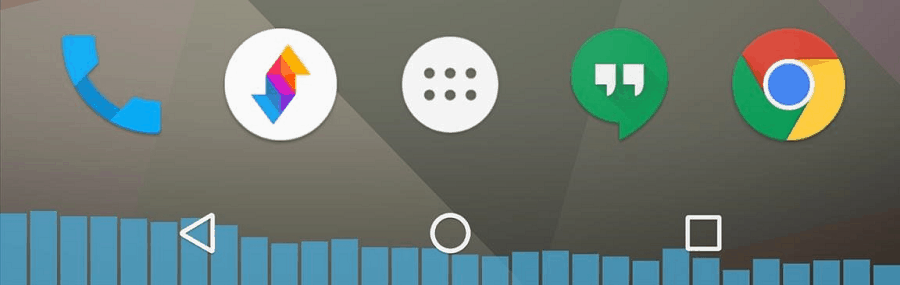 Since the module has root access, it should work with almost all the popular music player apps. So do let us know if you loved this guide on how to add music visualizer to the navigation bar on Android.
Source: WonderHowTo
Similar / posts
Groove with Android – How to add Music Visualizer to Navigation bar on Android
November 28th, 2016
Updated on August 16th, 2017
Groove with Android – How to add Music Visualizer to Navigation bar on Android
November 28th, 2016
Updated on August 16th, 2017
Groove with Android – How to add Music Visualizer to Navigation bar on Android
November 28th, 2016
Updated on August 16th, 2017