Can’t enjoy the power of voice communication on Android with the “call not sent limit exceeded” error popping up frequently? Here’s your guide to fixing this common calling issue on Android, along with other errors that a majority of users have experienced while making phone calls.Both Android 6.0 Marshmallow and the more recent Android 7.0 Nougat brought a lot of cool additions to Android phones. But, not without their share of problems. Since Android OS runs on millions of devices developed by different manufacturers, there’s no guarantee to whether you will never experience such errors during your usage. Wait as your phone boots back up to the home screen and hopefully, this should clear the “call not sent limit exceeded” error and your phone should work just fine. As the system reboot helps clear all background processes and resets the running services, simply rebooting your phone should do the trick.However, you can move on to the next solution if the calling issue on your Android device still persists.
 Fortunately, the Google Play Store is packed with a bunch of awesome apps. Many of which can be a perfect replacement for your faltering phone app. You can choose to go stock and download the official Phone app from Google or the ZenUI Dialer app by Asus. Simply install any of these apps and choose “Always” when prompted to set them as default.You are better off getting to the root of the problem and then resolving it out using any of the fixes suggested above. Be sure to let us know which one of these solutions worked for you in fixing the “call not sent limit exceeded” error in the comments section below. Feel free to check out the Updato forum and give your two cents on what more can be possibly done to resolve this issue.

How to fix 'Call not sent limit exceeded' error
One of the most troublesome errors that a lot of users have experienced on Android phones running either Marshmallow or Nougat is the “call not sent limit exceeded” issue. This happens whenever you try to make a call, but it doesn’t go through. Instead, you end up getting a “call not sent limit exceeded” notification. If you’re encountering this on your phone, the tips below should help you sort it out.Solution 1: Reboot your device
Rebooting should be your go-to fix for almost every issue that the Android OS is affected by. Since your device is essentially a microcomputer, all it needs sometimes is a refresh, so restart your smartphone and try again.Simply hold down the Power button on your Android device until you see the menu screen pop up. Select the Reboot or Restart option from the screen, after which you might need to confirm your actions.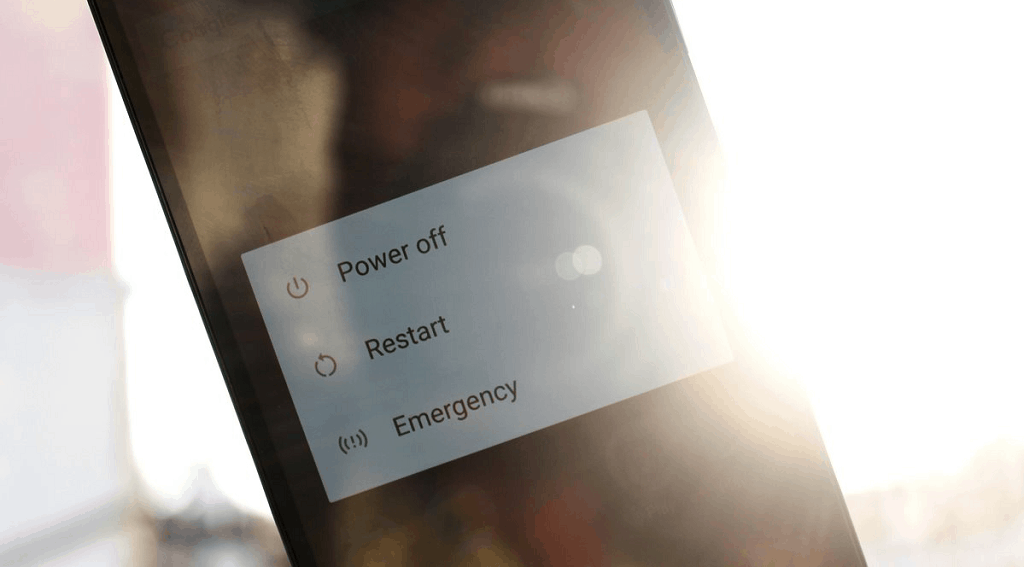 Wait as your phone boots back up to the home screen and hopefully, this should clear the “call not sent limit exceeded” error and your phone should work just fine. As the system reboot helps clear all background processes and resets the running services, simply rebooting your phone should do the trick.However, you can move on to the next solution if the calling issue on your Android device still persists.
Solution 2: Clear the Dialer app data
On most Android phones, the “call not sent limit exceeded” problem will go away after clearing app data. The issue is related to the Dialer app on the device and nothing to do with the network connection in most cases. By clearing the stored settings and data of the Dialer app, you can hit the hard reset button and do away with the errors.Note: Clearing the app data for the Dialer app on your Android device only affects the settings, such as speed dial contacts and favorites. Your phone contacts will be unaffected by this process, but it’s always a good practice to keep them synced with your Google account.To get rid of this pesky error for good, all you need to do is go along with the following easy steps to get it done with:- Launch the Settings app on your Android handset
- On the Settings menu, scroll down and click on the Apps option
- Select the All Apps tab at the top.
- Scroll down to the Dialer app from the list that appears.
- Tap Clear Data. You’ll get a prompt to Delete app data, so tap OK to confirm.
- Your device should be ok to make calls without any limitations.
Solution 3: Specify call SIM card
If you have a dual SIM Android phone, you might be encountering the “call not sent limit exceeded” problem because you haven’t specified the primary SIM card for calls.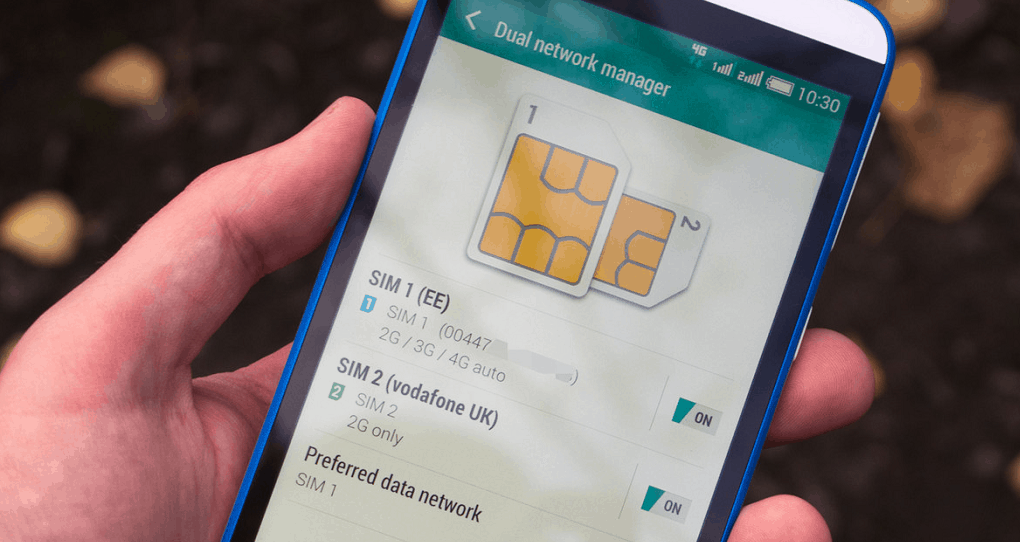
- Launch the Settings app on your Android phone
- From the menu options that result, select SIM card or SIM management depending on what it says on your device.
- Tap on the Calls section.
- Choose a specific SIM card you make phone calls with instead of the ‘Ask every time’ option.
Solution 4: Change your default Dialer app
It happens that the call not sent limit exceeded error comes about when you try to make more calls than the stipulated limit (i.e. one) at a time. Some people try to use alternative dialer apps to work around the problem.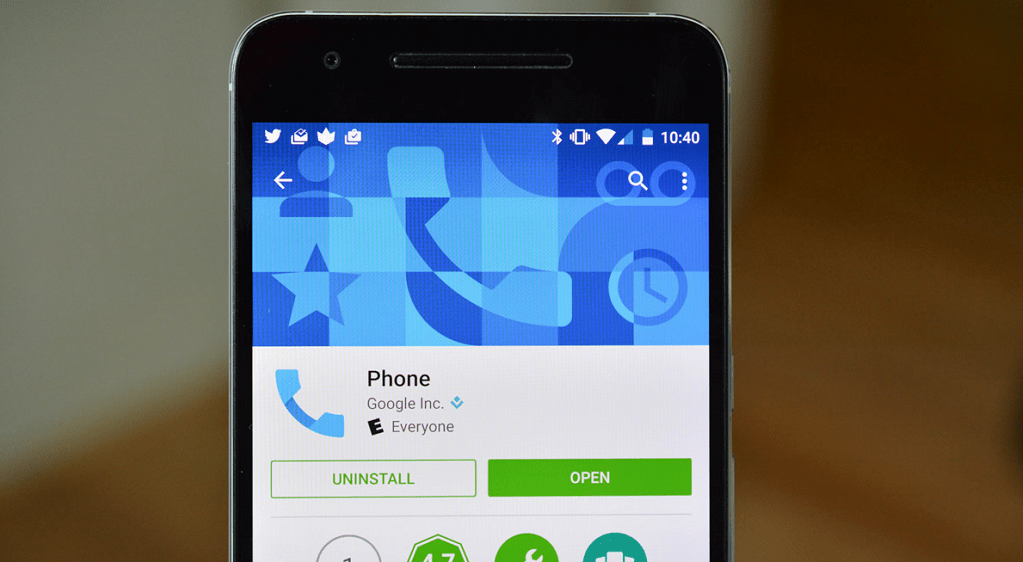 Fortunately, the Google Play Store is packed with a bunch of awesome apps. Many of which can be a perfect replacement for your faltering phone app. You can choose to go stock and download the official Phone app from Google or the ZenUI Dialer app by Asus. Simply install any of these apps and choose “Always” when prompted to set them as default.You are better off getting to the root of the problem and then resolving it out using any of the fixes suggested above. Be sure to let us know which one of these solutions worked for you in fixing the “call not sent limit exceeded” error in the comments section below. Feel free to check out the Updato forum and give your two cents on what more can be possibly done to resolve this issue.
How to fix 'Mobile network not available' error on Android
So you pull out your smartphone hoping to make an urgent call and end up getting the “Mobile network not available” message on the screen. This can be pretty unnerving, especially when there's not an obvious way of solving it.Traditionally the error message should only pop up when your phone is not connected to a stable network or has absolutely no signal coverage. If you’re troubled by the “Mobile network not available” issue, here are some workable solutions you can try out.Solution 1: Check to see if Data Roaming is enabled
Unless you are out of your home state, there’s no reason for the data roaming option on your device to be enabled. While it may not help network coverage, it could be counterintuitive and essentially cause the “Mobile network not available” error message to pop up.
- Head over to the Settings app on your device from the Quick Settings window (swipe down).
- From the Settings menu, tap on Wireless and networks, head over to Mobile networks and look for Data roaming
- Press the toggle switch right next to Data roaming to disable the option and reboot your device for extra measure.
Solution 2: Manually select your mobile network
In case there are too many network carriers transmitting their network, it can be time-consuming for your device to find the compatible frequency. You can pretty much quicken this process by using your Android device to manually find the compatible mobile network carrier for your SIM card and register on it.- From the home screen of your Android device, swipe down to access the Quick Settings and tap on the gear icon to open Settings.
- Find the Wireless and networks tab and access to open Mobile networks
- Here you will be able to find Network operators tab, which will have the Choose automatically option enabled by default.
- You can toggle the switch off and then on again in order to make the device automatically look for compatible mobile networks.
- However, you can also turn it off and wait for the device to gather information on the available mobile networks.
- Once you find the name of your network carrier on the list, tap on it and wait while the device registers on the network.
Solution 3: Inspect your SIM card
Poor network connectivity and “Mobile network not available” message popping up is rarely a hardware issue. Even if the hardware is to blame, there’s a better chance of your SIM card being the culprit than your handset. Before you give up all hope and take your phone to the service center, here’s what you can do to see if the SIM card is to blame.
- If you have multiple SIM card slots on your device, try removing one of the SIM cards to see if the issue still persists.
- Try turning off mobile data on your Android device to see if it makes any difference to the issue.
- Make sure that you are not using a 4G SIM card with your 3G-compatible smartphone. 4G compatible SIM cards are not supported by older Android devices, which can cause the “Mobile network not available” error to pop up.
- Try swapping in another SIM card into your Android device to see if the issue still persists. If you don’t find the error anymore, you might need to replace your SIM card from your network service provider.
Solution 4: Perform a network radio test
Apart from the steps given above to combat the annoying “Mobile network not available’ error on your Android device, you might want to conduct a hardware test. This radio test will help you find out if the network issue is hardware related or just a software glitch.- Head over to the Dialer app on your Android device and type in the following code exactly as stated - *#*#4636#*#*
- As soon as you put in the code, you will be prompted with the Testing menu with a list of options.
- Open the Phone Information or Device Information tab, depending on your model.
- On the new screen, scroll down to find the Run Ping Test button and tap on it.
- Now use the drop-down menu tab and select the GSM Auto (PRL) option from the list.
- Now use the toggle switch to Turn off radio and reboot your device.