If you've explored the world of home automation or internet of things, or even merely researched lighting for your smart home, then you've probably come across a company called Nanoleaf. The company is one of the new up and coming exciting tech companies that are embracing the world of automation. One such product to come from the company is the Nanoleaf Light Panels, which we take a look at in this review, exploring the setup procedures, operation, and design. We also take time to consider the history of Nanoleaf discussing the problem the company set out to solve and how its products have helped shape a world that has dictated a new way to design intelligent lighting options within your home. The company, while famous for the light panels having been featured in the background of videos for some popular YouTubers, make a number of other products. Other products include origami-like design bulbs that are made up of small LEDs on a folder circuit board. The technology involved eliminates the need for a heat sink and also keeps the bulb cool to the touch while reducing the amount of energy used during manufacturing. Nanoleaf bulbs also feature overheat protection, which allows the bulb to dim itself if it gets too hot, reducing the possibility of damage and increasing its potential lifespan. The Nanoleaf Aurora is the company's first implementation of the modular smart light that eventually evolved into the Nanoleaf Light Panels and uses the same LED chips on a printed circuit board but features a diffuser on a flat triangular surface.
 Alongside the panels, also included in the box are the smart connectors that are used to connect the panels together, the rhythm module, which we'll discuss later, a Nanoleaf sticker, a power brick, the power controller, sticky tabs for attaching the panels to the wall, and both a US and UK mains connector. It's great that both types of mains connector are included as standard in the box, although it does add some unnecessary bulk.Once you've settled on a design, you can begin the process of transferring the panels to the wall. Nanoleaf recommends you leave a tab overlapping the edge of the panel as shown in the image. While this may look messy, and I was confused if this was correct or not, these tabs are hidden when you connect another panel to it but also provide a way to assist removing the panels should you ever need to take them off your wall.With that being the case, it is important to position the overlap flaps facing edges of the panels that are connecting to other panels to hide them. The bottom panel tab can be positioned behind the power controller. The small linking pieces connect into the middle of each side of the panel, and these can be connected to any side of another panel. The controller and rhythm module can be connected and positioned anywhere on the structure, so the possibilities are endless.Setup is made extremely easy by the Nanoleaf app that walks you through the process and is pretty speedy. After you've plugged the power brick into the controller wait for it to initialize and then proceed to pair the device with your smartphone. The app will temporarily connect to your panels over WiFi before asking you to enter your home networks wireless credentials and joining the panels to your network. From this point forward all the interaction with the light panels can be done via the app, and you'll be walked through an onboarding process to introduce you to the customization options.
The Nanoleaf app is split into four sections that can be accessed by the menu at the bottom of the screen. The dashboard tab houses all the designs and color combinations pre-installed and configured by the user. This section is split into four areas where you can set a primary color sequence, color combination, a rhythm, or group settings. The basic setting will show a solid set color at a dictated brightness while the color setting can be made to display gradients or combination of colors to match certain moods or environments.The rhythm setting uses the sound module to detect music or any noise for that matter and respond to the sound by lighting up panels in pre-defined styles. This setting is perfect for a party or an uplifting environment, but where my panels are located in the office, this got pretty old very quickly, and I choose to stick to the color setting to cycle through some reds. The color selection goes into great detail being able to select colors from the entire RGB range.The discover section contains designs curated by the community that you can download and save to your light panels. Simply click on a color set you want to view, and you'll be able to either preview it live on your live panels or download it for later use. There's also an explore tab that contains all the guides to familiarize you with the various capabilities of the light panels for some inspiration and finally a schedules section to set custom timings for various scenes. This is useful if you want to have a specific design at sunrise that changes at set times throughout the day.The only reason to remove the panels would be to rearrange them if perhaps you acquire more panels at a later date and prefer a different design. Be warned that removing the panels from the wall will most likely leave marks on the wall where the sticky tabs have been. You can't add the Nanoleaf to be a trigger in IFTTT, only instruct it to blink, turn on or off, or set a specific scene based off another trigger, but it works very well as is certainly a set-and-forget type setup.
Who is Nanoleaf?
Nanoleaf is a green company founded by three engineers in 2012 that launched its first two products - the Nanoleaf One and Nanoleaf Bloom - on Kickstarter in 2013. The campaign saw the emergence of a brand new product that rivaled the likes of Phillips with its Hue range. As a result, it saw a crowdfunding amount raised of $250,000 with an initial goal of $20,000. This subsequently led to funding by a capital venture that saw Nanoleaf offices opened in Shenzen, China, and Hong Kong. The second campaign for the Nanoleaf Bloom raised $192,973 with just a $20,000 goal before opening an office in Canada in 2015.Nanoleaf products
 The company, while famous for the light panels having been featured in the background of videos for some popular YouTubers, make a number of other products. Other products include origami-like design bulbs that are made up of small LEDs on a folder circuit board. The technology involved eliminates the need for a heat sink and also keeps the bulb cool to the touch while reducing the amount of energy used during manufacturing. Nanoleaf bulbs also feature overheat protection, which allows the bulb to dim itself if it gets too hot, reducing the possibility of damage and increasing its potential lifespan. The Nanoleaf Aurora is the company's first implementation of the modular smart light that eventually evolved into the Nanoleaf Light Panels and uses the same LED chips on a printed circuit board but features a diffuser on a flat triangular surface.
Competition
Products offered by Nanoleaf are often naturally compared to one of the most popular products in the internet of things market, the Philips Hue. Released around the same time as Nanoleaf was born in 2012, the Hue system was released as an Apple exclusive and offered bulbs and LED light strips that would change color from a smartphone connection. While both products offer a lighting solution, the use case for both differs greatly. Philips Hue, or at least the LED light strips, are typically positioned and hidden away from sight to offer a subtle glow from behind a desk or TV. Nanoleaf, on the other hand, takes up pride and place on an entire wall with it being full in view for all to see. For that reason, the two products attract different use cases, and therefore users.Why Nanoleaf is important
As highlighted above, the leader in home lighting solutions was arguably the Philips Hue, which was terrible for the overall health of the home automation model as it was initially an Apple exclusive. That hold has since been lifted to open it up to other platforms, but had it not been for the likes of Nanoleaf who offered a similar product with an appealing use case to encourage competition, that may not have been the case. The emergence of the light panels in the mainstream market has had a massive influence on DIY smart lighting. The equivalent setup without the Nanoleaf product would involve a heap of work but the innovation brought about by the company makes excellent design accessible to the masses.The accessibility, customization, and appearance of the Nanoleaf Light Panels have redefined what it means to have a smart home beyond the usual definitions of sensors and smart lights that can switch on or off using WiFi and perfectly captures what the company was built upon. The pure existence of the Nanoleaf products has spawned a whole raft of rival startups that aim to emulate the company's success.LIFX has released some products that also embrace the Nanoleaf model of not requiring expensive standalone hub units to control the communication of the smart lights. LIFX offer a product called Tile, which is its take on the Light Panels. However, the idea of a customizable light that stands out from the crowd and looks good enough to be displayed for all to see and not tucked behind a desk was pioneered by Nanoleaf and is forcing companies to rethink what smart lighting means to consumers. It's about being bold, individual, and enjoyable while maintaining the simplicity to ensure anyone can use it.Nanoleaf Light Panel Review
What's in the box?
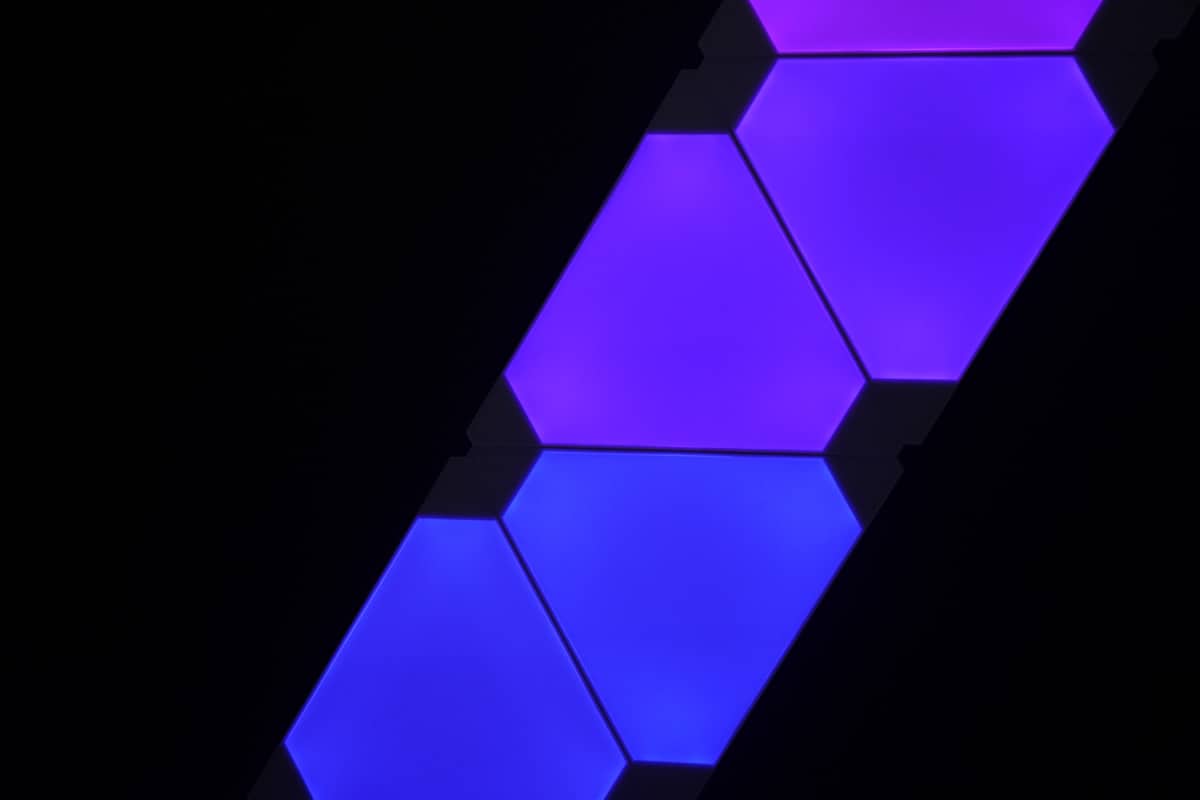
From the moment you unpack the package, you're greeted with a sleekly designed box that offers an insight into the what the Nanoleaf Light Panels are capable of. The light panels themselves are triangular shaped and packed securely between multiple pieces of paper, which offer a double purpose of being able to test your design on the wall before actually attaching the panels. The pack we reviewed consisted of nine light panels that can connect in an unlimited number of devices - arguably the hardest decision behind deciding to drop the $229.99 on purchasing the actual product.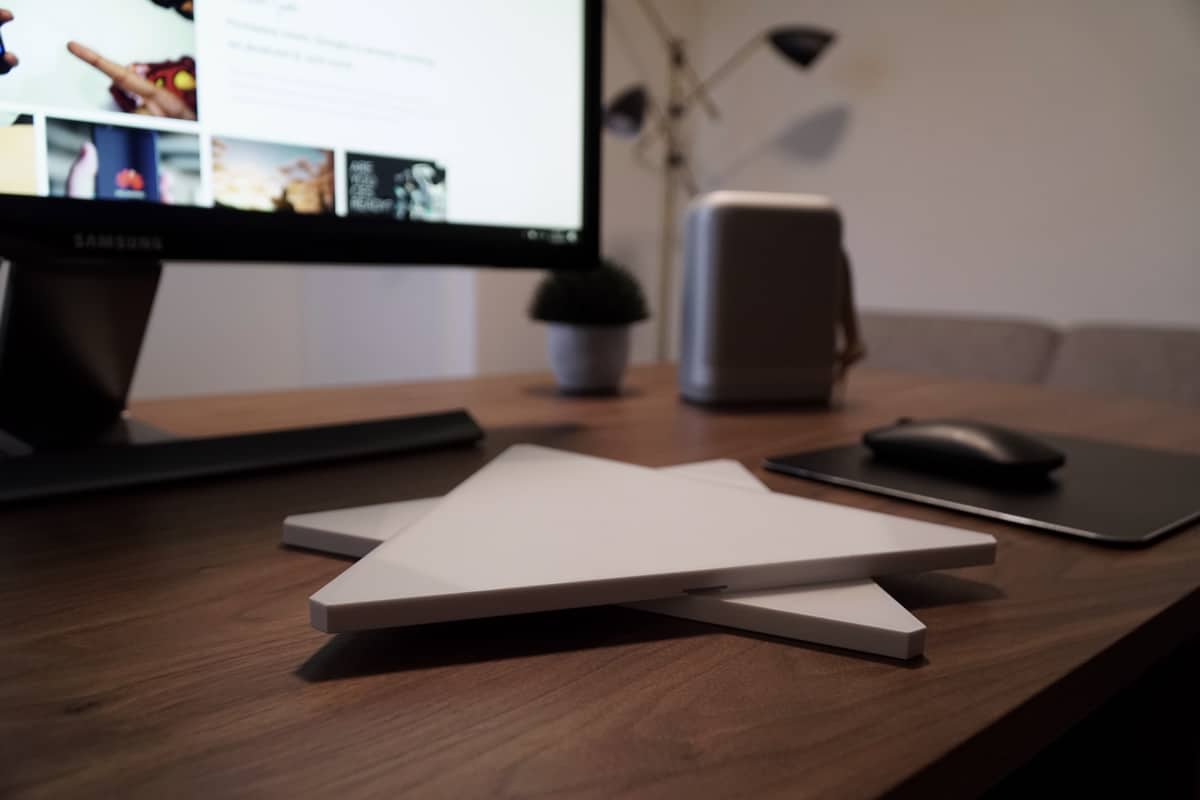 Alongside the panels, also included in the box are the smart connectors that are used to connect the panels together, the rhythm module, which we'll discuss later, a Nanoleaf sticker, a power brick, the power controller, sticky tabs for attaching the panels to the wall, and both a US and UK mains connector. It's great that both types of mains connector are included as standard in the box, although it does add some unnecessary bulk.
How to set up the Nanoleaf Light Panels
As alluded to above, one of the most difficult aspects of setup is deciding how to arrange the Light Panels on the wall. The included sticky tabs that attach them to the wall are surprisingly strong, which also means final. It is highly recommended to arrange your panels on the floor and conclude on an arrangement before transferring to the wall. It's also a good idea to test all the panels work before sticking them on your wall.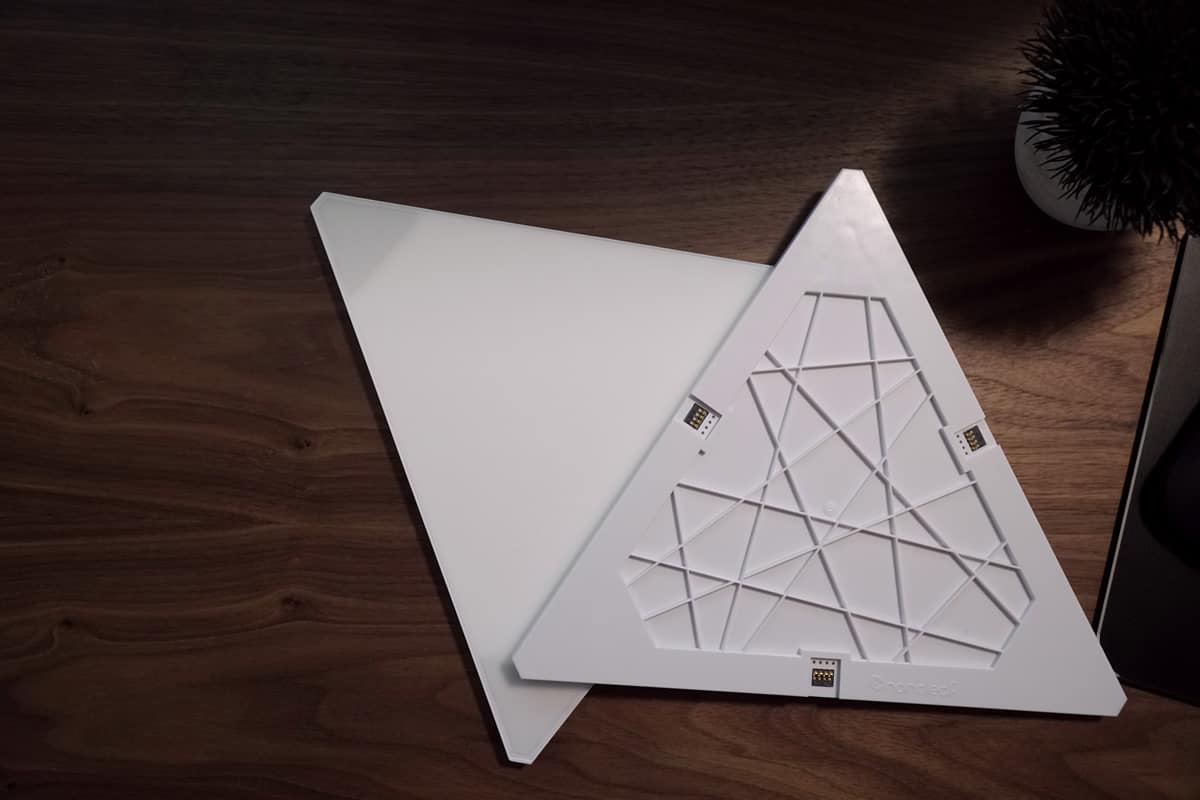 Once you've settled on a design, you can begin the process of transferring the panels to the wall. Nanoleaf recommends you leave a tab overlapping the edge of the panel as shown in the image. While this may look messy, and I was confused if this was correct or not, these tabs are hidden when you connect another panel to it but also provide a way to assist removing the panels should you ever need to take them off your wall.With that being the case, it is important to position the overlap flaps facing edges of the panels that are connecting to other panels to hide them. The bottom panel tab can be positioned behind the power controller. The small linking pieces connect into the middle of each side of the panel, and these can be connected to any side of another panel. The controller and rhythm module can be connected and positioned anywhere on the structure, so the possibilities are endless.Setup is made extremely easy by the Nanoleaf app that walks you through the process and is pretty speedy. After you've plugged the power brick into the controller wait for it to initialize and then proceed to pair the device with your smartphone. The app will temporarily connect to your panels over WiFi before asking you to enter your home networks wireless credentials and joining the panels to your network. From this point forward all the interaction with the light panels can be done via the app, and you'll be walked through an onboarding process to introduce you to the customization options.
A look at the Nanoleaf app
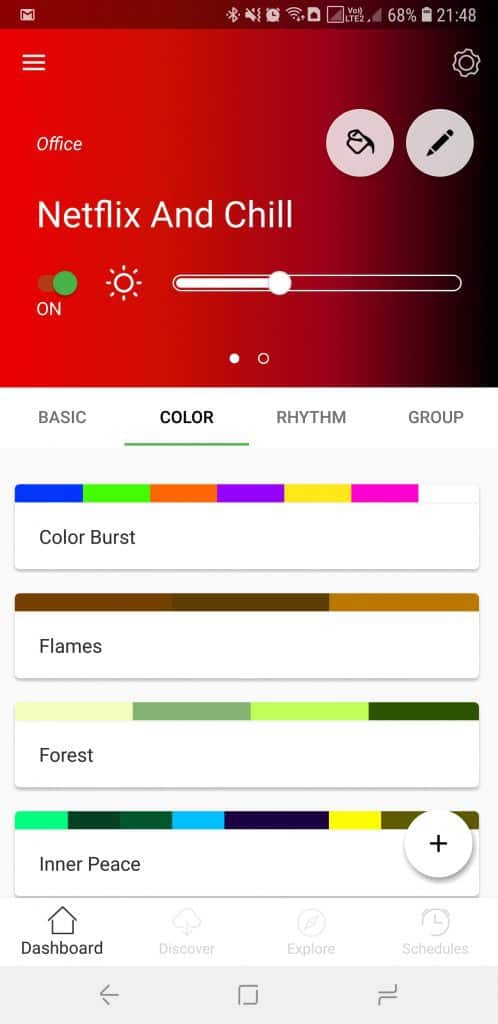
 The rhythm setting uses the sound module to detect music or any noise for that matter and respond to the sound by lighting up panels in pre-defined styles. This setting is perfect for a party or an uplifting environment, but where my panels are located in the office, this got pretty old very quickly, and I choose to stick to the color setting to cycle through some reds. The color selection goes into great detail being able to select colors from the entire RGB range.
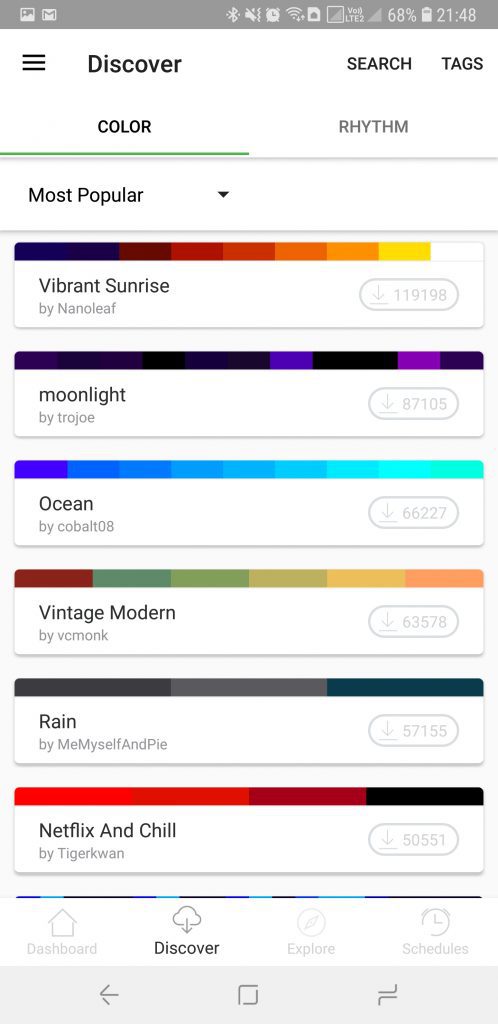
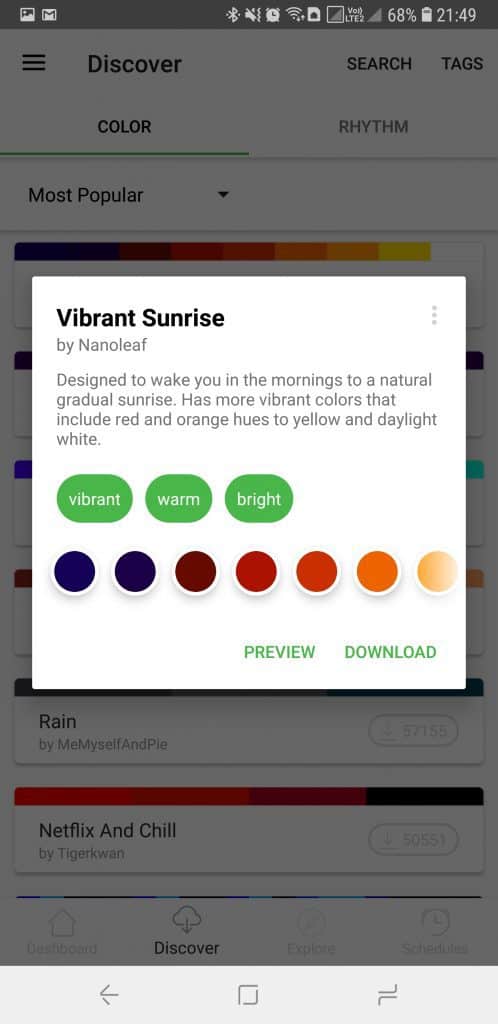
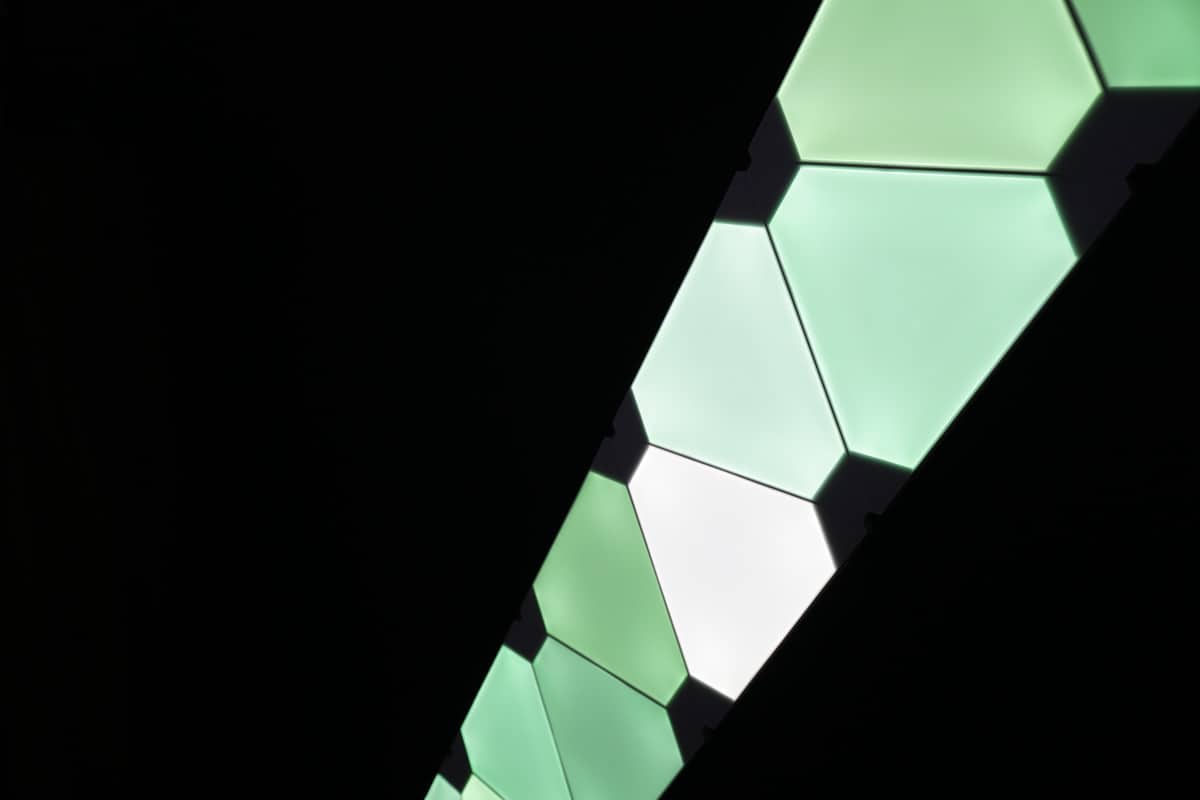 The discover section contains designs curated by the community that you can download and save to your light panels. Simply click on a color set you want to view, and you'll be able to either preview it live on your live panels or download it for later use. There's also an explore tab that contains all the guides to familiarize you with the various capabilities of the light panels for some inspiration and finally a schedules section to set custom timings for various scenes. This is useful if you want to have a specific design at sunrise that changes at set times throughout the day.
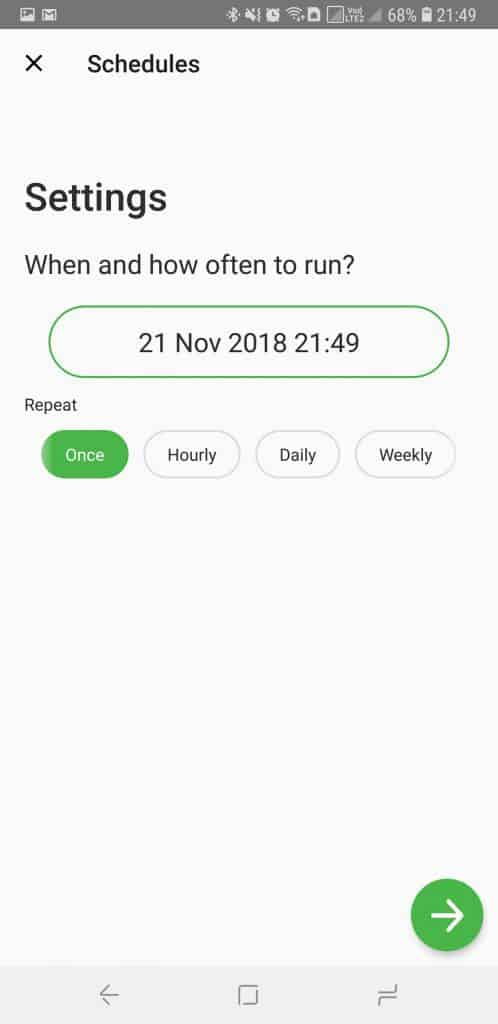
Design of the Nanoleaf Light Panels
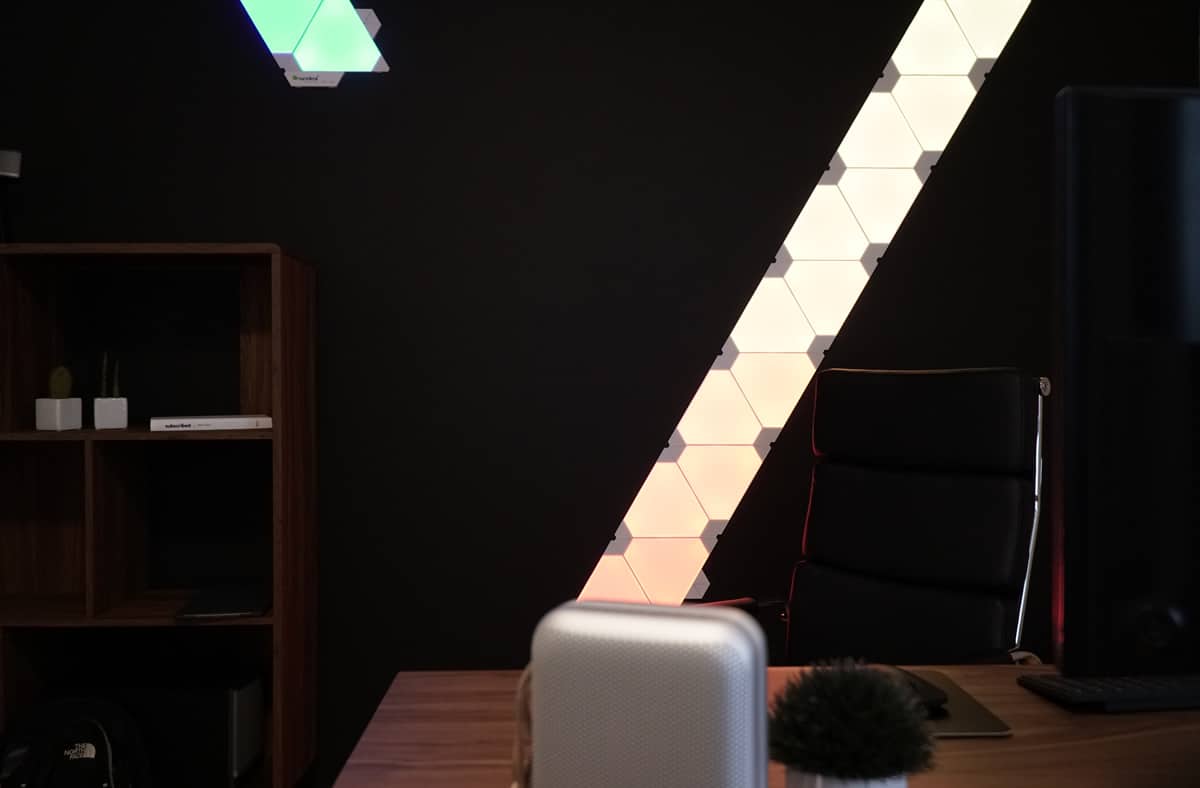
The simplistic design of the light panels enables a near plug-n-play experience. The customization available for the light panels means that they can be placed in any room and any environment and matched to suit their surroundings. The panels can get extremely bright and equally very dim so are perfect to offer some ambient lighting in the evening or some additional focused lighting at max brightness.The set we reviewed comes with 9 panels, which while perfectly adequate to get a feel for the product and a small room to provide some lighting, it certainly falls short of providing anything significant and would require more panels to enhance the output and effect of the light panels. The effectiveness of the design boils down to your creativity and what you can come up with for the arrangement of the panels. The more panels you have the better designs you can come up with.https://youtu.be/Glf_66YXtNUAs far as durability goes, there should be no issues in this department. The included sticky tabs feel secure (I used 2-3 on each panel) and provide a flush solution to attach the panels to the wall. Once these are secured to the wall, there is very little reason to remove them.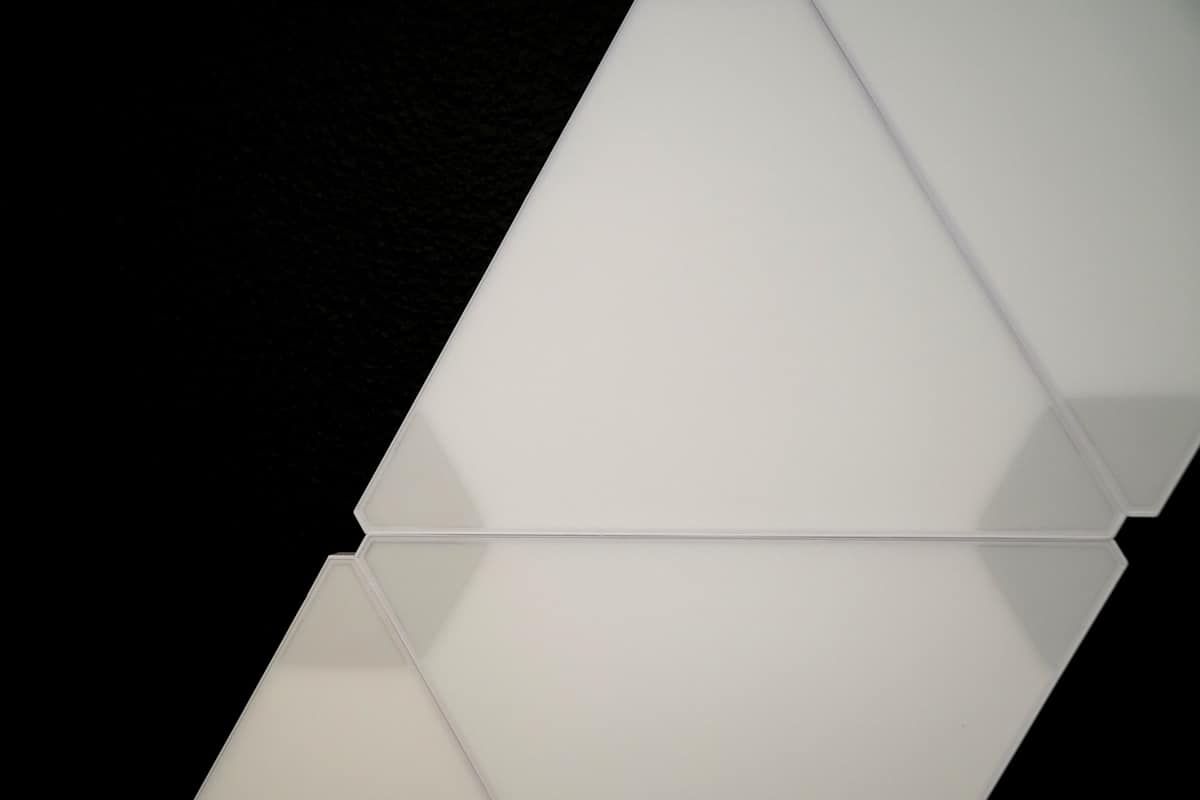 The only reason to remove the panels would be to rearrange them if perhaps you acquire more panels at a later date and prefer a different design. Be warned that removing the panels from the wall will most likely leave marks on the wall where the sticky tabs have been.
Automation
Nanoleaf hooks into most of the smart integrations you would expect. You can use the Nanoleaf light panels with IFTTT, Apple HomeKit, Alexa, and Google Assistant, with your choice being the ecosystem that you are already invested in. Props to Nanoleaf for including multiple automation options to allow users to pick their choice rather than forcing them down a specific path that may not integrate with their other devices. The Google Assistant implementation is slightly clunky, not by any fault of Nanoleaf but the way in which Google imports every single scene into the devices view which just looks bad. If you want to add another scene at a later date, you have to unlink the Nanoleaf from the Home app and re-add it all again. Personally, I went with Alexa and IFTTT integration.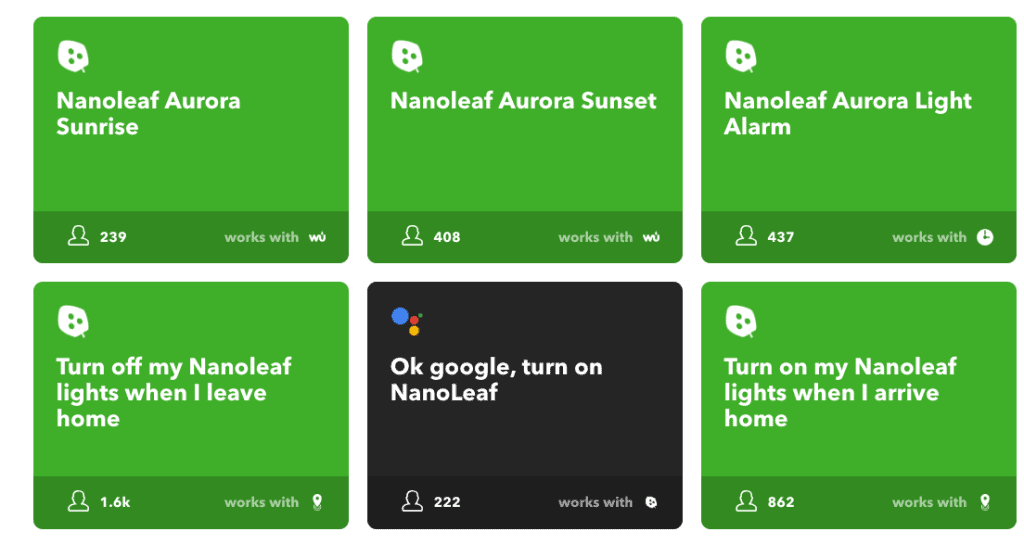 You can't add the Nanoleaf to be a trigger in IFTTT, only instruct it to blink, turn on or off, or set a specific scene based off another trigger, but it works very well as is certainly a set-and-forget type setup.