Android Pay, the newest mobile payment system from Android now available across the UK. Although Android Pay is only available across selective regions, you won’t be able to use the service on a rooted device for now.To use Android Pay on rooted device, you need to temporarily disable the rooting vulnerability on your device. Apart from temporarily unrooting your Android device, you can also lock your Bootloader to make sure that Android Pay works safely on your device. Under the “Superuser” section, uncheck the box “Enable Superuser” and give the app a few seconds to unroot your device. Once the tab reads “Superuser is disabled and hidden”, you can go ahead and add your cards and use Android Pay on rooted device.
 Have you tried to use Android Pay on rooted device successful yet? Let us know if it worked out for you in the comments section below.
Method 1: Temporarily unroot your device
Getting over the root restriction for using Android Pay is simply done through the SuperSU app installed on your rooted device. Simply open the SuperSU root manager app and open the Settings tab.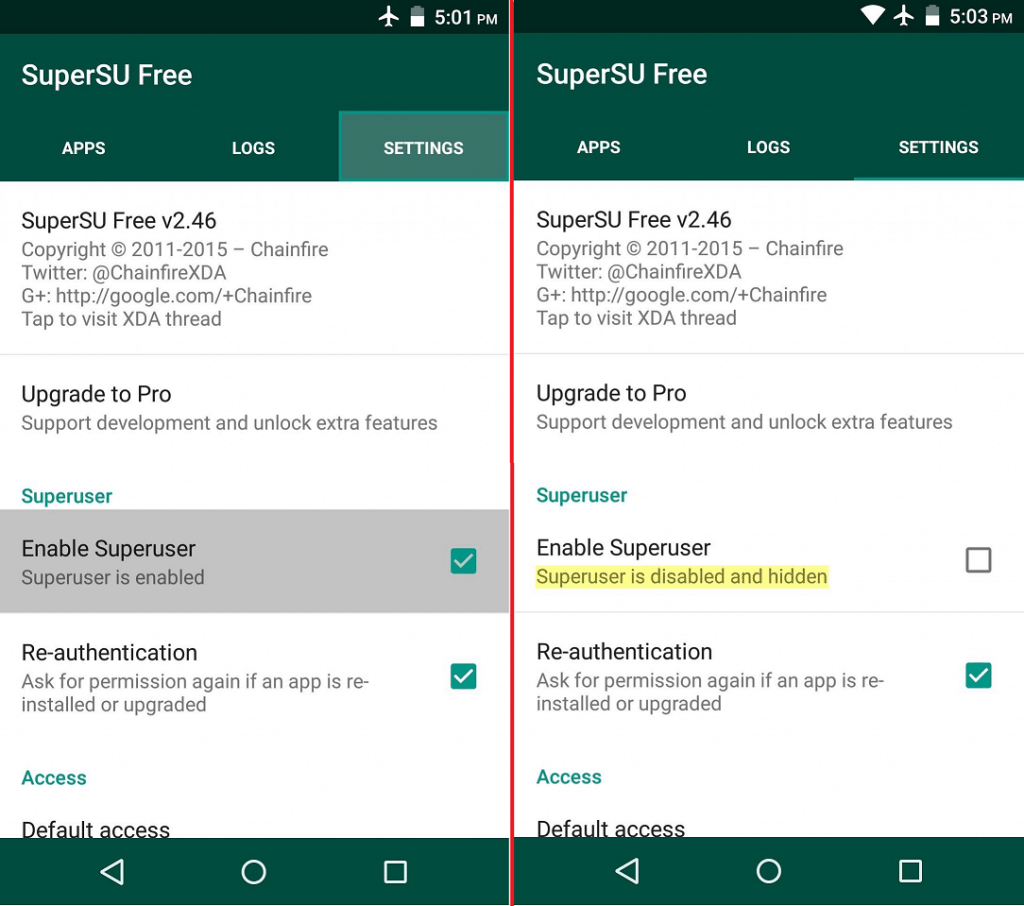 Under the “Superuser” section, uncheck the box “Enable Superuser” and give the app a few seconds to unroot your device. Once the tab reads “Superuser is disabled and hidden”, you can go ahead and add your cards and use Android Pay on rooted device.
Method 2: Use Android Pay on rooted device by locking Bootloader
On most Google Nexus devices, unlocked bootloader can also be a reason why Android Pay is restricted. Hence, you need to not only temporarily disable root capability, but also re-lock the bootloader on your device.Fortunately, you can do so with the help of an app called BootUnlocker for Nexus Devices. The app is available for free in the Google Play Store and allows you to lock your bootloader once you grant it root access.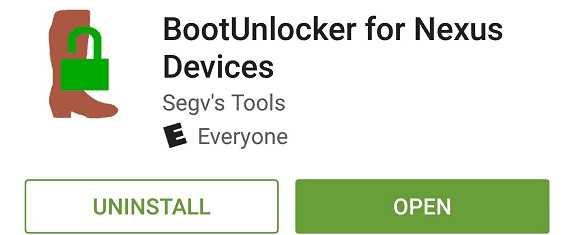
Download BootUnlocker for Nexus Devices
Once you have opened the app and granted it Superuser access, tap on the “Lock” button below “Booloader Status”. If everything goes right by the book, the Bootloader Status bar should now read “Locked”. You can then head back to the SuperSU app and disable Superuser from the Settings menu.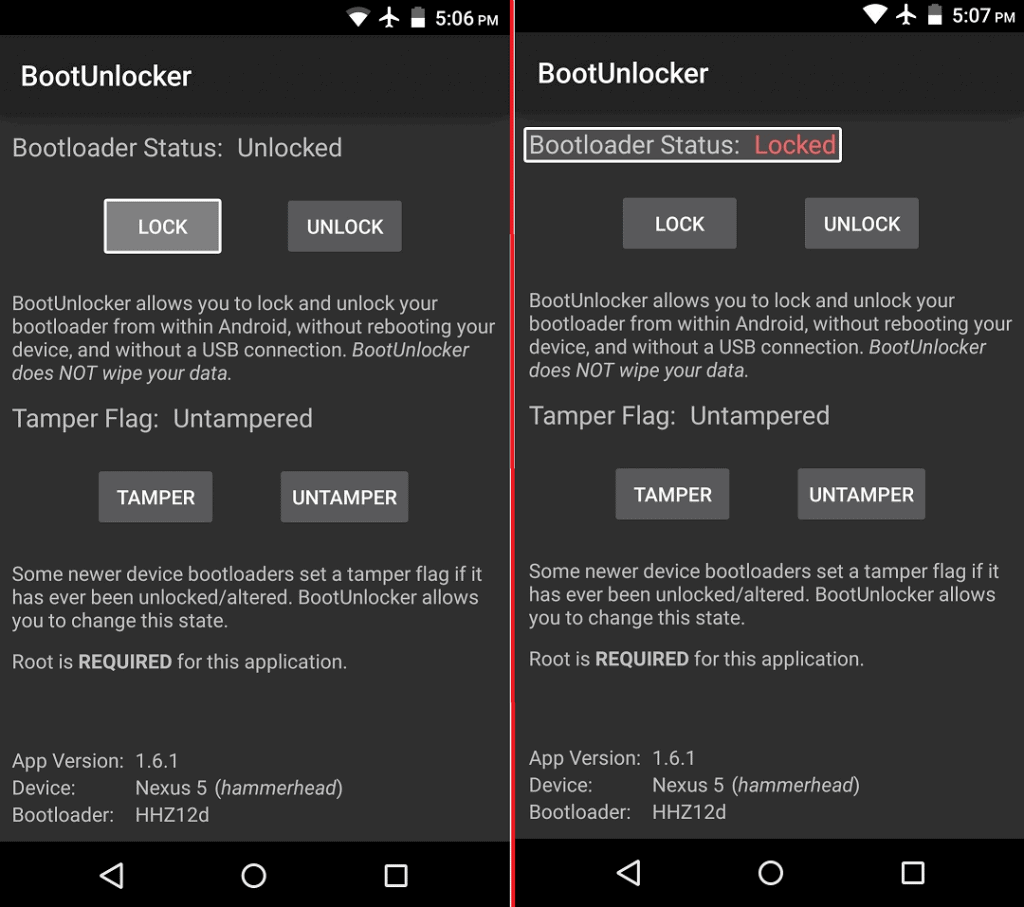 Have you tried to use Android Pay on rooted device successful yet? Let us know if it worked out for you in the comments section below.
Source: WonderHowTo
Similar / posts
Superuser and mobile payment – How to use Android Pay on rooted device
July 23rd, 2016
Updated on August 16th, 2017
Superuser and mobile payment – How to use Android Pay on rooted device
July 23rd, 2016
Updated on August 16th, 2017
Superuser and mobile payment – How to use Android Pay on rooted device
July 23rd, 2016
Updated on August 16th, 2017