This post is a guide that teaches you how to organize your phone and boost productivity. It demonstrates how you can set up your phone for a smooth, productivity-activated Android experience. If these tips help you out, let us know on the forum!Does your Android phone need a re-organization? There’s a good chance it does. Getting distracted by the hundreds of apps that tempt them in the Play Store, people often forget to weed out distractions and configure their phones for maximum productivity. An organized smartphone is key to a smooth and enjoyable Android experience. When your phone is organized and tidied up, you'll have an easier time finding the apps you need and activating various features on the go.You don't need to do a factory reset to make your phone organized. You only need to set aside about 15 minutes of your time and follow through with the recommendations in this post.Below are some easy to follow, actionable steps to make your phone less cluttered and productivity-activated. 


How to organize your phone for easy access
According to Yahoo Aviate data, the average Android user has 95 apps installed in their handset. Without any reasonable organization, you're going to waste precious seconds browsing through an extensive list every time you need to access a specific app - and since this is a task that you repeat hundreds of times a day, those seconds really add up, and end up causing a lot of frustration.There are two ways to organize your apps on Android. You can either do it manually, or you can use an app organizer (such as a launcher that displays apps in a specific way). This section focuses on how you can manually organize your apps. Jump to the next section to learn how you can do it with app organizers.Manually organizing your apps
- Functional folders – group apps into functional categories based on what they do. For instance, create a folder named 'Productivity' and put all your productivity-related apps in there. Similarly, you can put all utility apps in a folder named 'Utilities'. Some users find it more reasonable to give their app folders verb names such as ‘Talk’, ‘Listen’, ‘Shop’, etc. Whatever works for you!
- Alphabetical ordering – when your apps are organized alphabetically, you can easily access any app by navigating to the alphabet (letter) that corresponds to the name of the app you want to open For instance, you’ll need to go to the letter ‘P’ to access apps such as ‘Phone’, and ‘Play Store’.
- Arrange apps by frequency of usage – this is another cool way to organize your apps. Put very commonly accessed apps on your primary home screen. Arrange apps that are less frequently used in your other home screens.
- Color coding your apps – put similar apps in the same spot on your screen. For example, arrange all apps that have a green icon (e.g. Whatsapp, Google Phone and Messages on the same spot within your screen). Follow by putting apps that have blue-themed icons on another part of the screen. You’ll have a sort of rainbow smartphone, better than having your apps scattered everywhere!
- Merge Contacts – duplicate contacts make your address book messy and cluttered, which translates to an unnecessary time overhead each time you try to pull a number. Login to the Google Account that’s affiliated with your Android handset, and navigate to Contacts.google.com. Your contacts will be arranged in groups such as ‘My Contacts’, or ‘Most Contacted’. Click the ‘More’ button under each group, then select ‘Find & Merge’ duplicates. It should be easy. Once you’re done with this process, go back to your phone, and Sync your contact list. You’ll find that you have a better, ‘duplicate-less’ and tidier list of contacts. However, you might still see duplicates because your phone also syncs contacts from other sources such as Facebook. You can optionally remove or suppress these additional accounts.
Use an app organizer
If you're feeling a little bit too lazy to organize your apps manually, a good app organizer is all you need. Some good suggestions include Auto App Organizer, Apps Organizer, and Folder Organizer Lite. Personally, my best Android app organizer is Auto App organizer. This is a free app that lets you reign order into your smartphone.Auto App allows you to select multiple apps and perform a single action on them. You are also able to move certain apps to the SD card at the tap of a button, categorize your apps into sensible groups, and also customize app icons. One particularly interesting feature that makes this app outstanding is its ability to highlight unused and inactive applications. The app also handles all new apps in a separate folder, so it’s easier to make sense of everything app on your handset.Organize and backup your multimedia
Most people allow camera photos, WhatsApp image and video downloads, Facebook images, and all sorts of multimedia to pile up on their devices. Cleaning app your multimedia is one great way to make your phone less cluttered, and ready for productivity. Go through your gallery and delete everything that doesn't warrant a second glance. If you've private recordings on your device that you no longer need, get rid of them. Rather than having those awesome family photos from two years ago sitting idle on your handset, back them up in the cloud and free up space.If you have Google+, it has an ‘Instant Upload’ feature that backs app all your photos to the cloud. You can then access them via any device by login in to your Google+ account.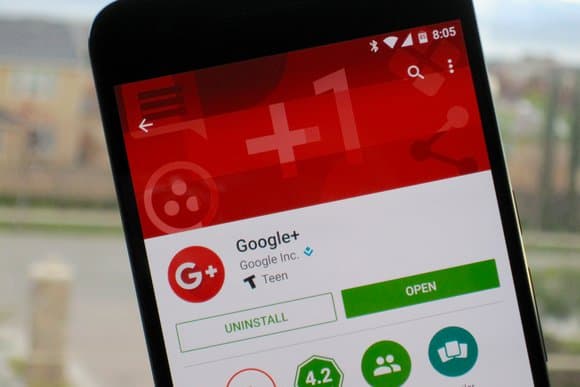
Image: Greenbot
As a rule of the thumb, media files (images, videos, audio) should be stored on your SD card, not your internal storage.Keep apps in your internal storage
Moving some of your apps to your SD card storage is such a great idea, or is it? When your opening from the SD card, they're going to be a little bit slower, and that's not good for boosting productivity on your handset. Make a point to keep your apps in your internal storage, and everything else in your SD card. But what if I have limited space on my internal storage? Well, start by getting rid of apps you don't regularly use. All your photos and documents on the memory card, but apps should stay in your internal memory. Secondly, navigate to Settings>Storage (Storage & USB) and select your memory card as the default write disk. This way, everything new that you receive/download to your device will be stored in the SD card. You can always go back and put Internal Storage as the Default write disk whenever you need to install a new app.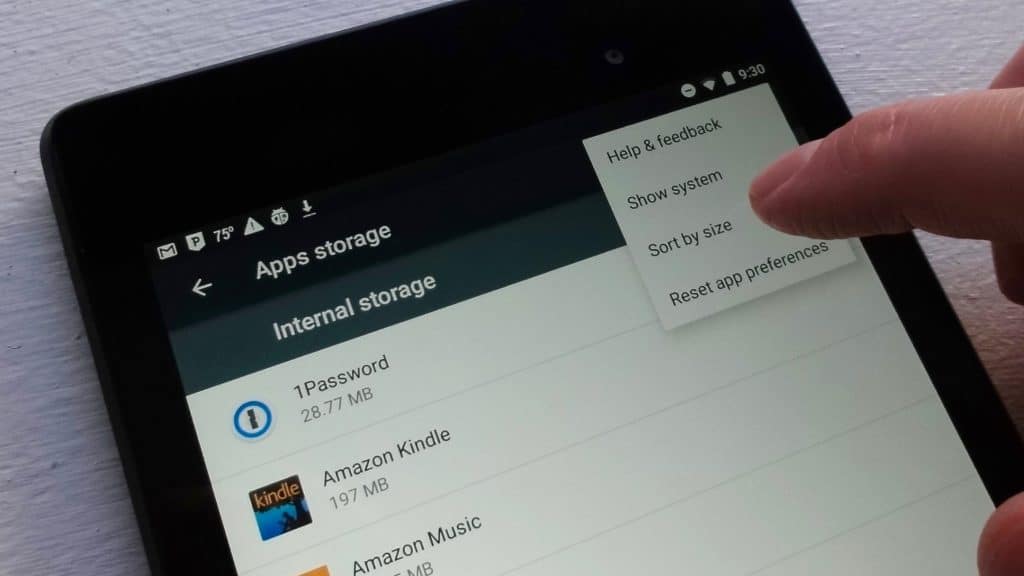
Image: PCWorld
I use DiskUSage to get a better idea of how my storage is utilized. This app allows me to easily browse directories and view how much space each file (or directory) is eating up. Since DiskUsage represents storage use information graphically, it’s always easy to get a handle on what’s taking up the most space. You may find that you have old files you no longer need on your handset.To remove or not to remove bloatware?
Bloatware is one thing that comes to mind when organizing your Android phone. Do you really need to remove bloatware to keep your device less cluttered? Personally, I think No. Here’s why? You’ll need to root your handset to be able to remove bloatware. Well, that sounds like a lot of work to me. Even more, attempting to remove bloatware comes with a risk of messing up your system.So unless you really really need to get rid of those pre-installed apps, leave bloatware alone. A few tiny apps won’t do any harms to organization and productivity on your Android handset.Make use of widgets
Image: Android Pit
You don’t always have to open an app every time you need to use a single one of its features. Whether you want to quickly share your thoughts on social media, or just check the weather, you can set up a widget for that.- Press and hold on your home screen
- Select the ‘Widgets’ option
- To add a specific widget to your home screen, press and hold on that widget then drag it to wherever you want on your screen
Install these productivity apps
Whether you're a farmer, student, handyman or attorney, you can never go wrong with installing the following productivity apps for Android.a) Evernote
Image: Evernote
This is an absolutely useful third-party app that makes it super easy for you to manage web pages, image and text. Evernote doubles up as a note taking app and a virtual notepad that you can use on the go. Sounds useful? Think about it: you’re just sitting in the park waiting for a friend when suddenly this brilliant new idea crosses your mind. You don't have a pen and notebook with you, but you know that you'll most likely forget the idea by the time you get home in a couple of hours.Voila! All you need to do is open Evernote and record it via voice or text input. You can also store files such as PowerPoint presentations and PDFs, as well as create to-do lists. Basically, there’s just no limit to what you can do with Evernote. It’s one hell of an app that turns your handset into a productivity powerhouse.b) Pushbullet

Image: Pushbullet
Want to share a file, web page, image or text from your smartphone to PC? Save yourself the trouble of fumbling with USB cables and get Pushbullet. One of my favorite productivity apps, Pushbullet is super easy to use, and acts as a liaison between all your devices. There’s an Android app available for Pushbullet, as well as a browser extension and separate PC program. Once you install Pushbullet on PC, you’ll be able to receive notifications for all incoming messages and calls without even touching your handset. Definitely a must-have tool for a hands-free Android experience when you’re busy studying, working, or engaged in whatever other activity.c) IFTTT
Video review of IFTTT for Android
https://www.youtube.com/watch?v=bdRttRz76z4Source: XDATV
If you haven’t started using IFTTT, you should! This is one of the most useful productivity apps that brings together multiple apps and services to help you achieve more, everyday! IFTTT works on the premise of ‘recipes’, also known as ‘applets’.IFTTT comes in handy if you want to automatically send an email to a Gmail account via your Android smartwatch, sync your Dropbox files, or switch on/off your ‘smart’ lights at home. There are really so many ways in which you can take advantage of IFTTT for more productivity on Android.One of the tasks I commonly accomplish with IFTTT is to mute or unmute my handset when I’m attending an important meeting. There’s a simple recipe for this within the app and you just need to press a simple button to get it working. Other common applets include setting up reminders for missed calls, turning the Wi-Fi on when you get home, as well as turning on battery saver.d) Google’s productivity suite
Source: Play Store
Google’s own productivity suite is a must have. Google Docs, Sheets and Slides are available as individual apps and you can install the Google Drive app too for a cohesive experience working with office documents. The Google drive app makes it super easy for you to access files stored in the cloud, as well as sync files from your PC. Even when there are connectivity problems, Google drive has a handy offline cache feature.Whether you want to make some last-minute additions to your office document, or polish a presentation, the individual apps can be extremely useful for on-the-go productivity.Get rid of distractions
This is a rather straightforward action step that can go a long way towards organizing your phone and making it productivity-ready. Go through your app list and identify those apps that unnecessarily eat up your time. Maybe it’s that new social media app, or that hyped news app that you downloaded recently. Whatever application that’s not adding value or contributing to a productive Android experience, get rid of it.Configure automatic updates for apps
The Android ecosystem makes it super easy to configure your apps to update automatically. Simply open the Google Play app on your handset, then hit the menu button. Go to Settings, and turn on ‘Auto-update apps’. You might want to turn on the ‘Update over Wi-Fi only’ option so that you don’t end up incurring hefty cellular data costs. By configuring automatic updates, you won’t have to bother yourself (and waste time too) updating each app manually!Install a gesture keyboard
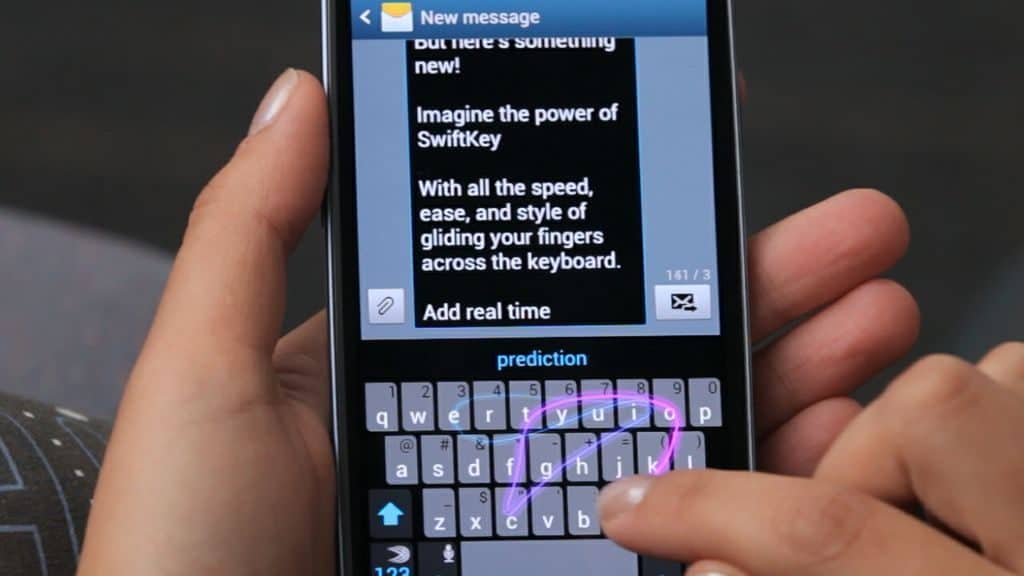
Image: VentureBeat
Gesture keyboards rank highly among the most useful productivity apps. Good examples include SwiftKey and Swype. With a gesture keyboard, you’ll be able to activate various features and open apps without having to go through the ‘hectic’ process of retrieving it from the app drawer. It’s super easy to use a gesture keyboard, and it’s quite a time-saver.Use Google Now
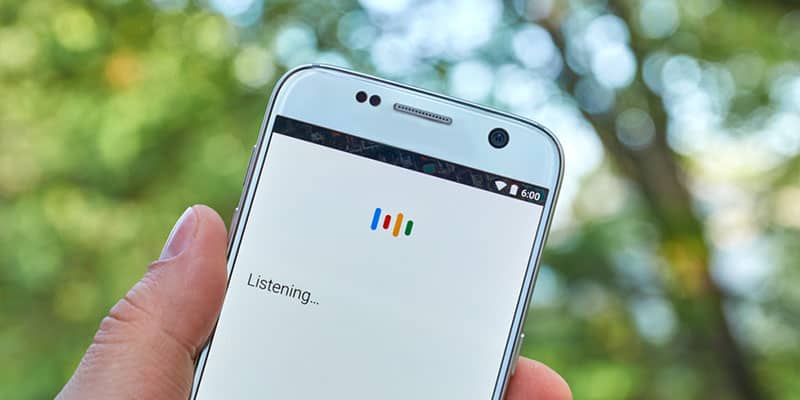
Source: Android Beat
Google Now (now Google Assistant on more recent handsets) is a virtual assistant that’s built into your Android operating system. You an use Google Now to boost productivity on your phone by issuing voice commands to retrieve information and perform tasks. Say ‘Google Now’ to launch the assistant interface. You can then go ahead and ask questions related to the weather, train arrivals, traffic situation, etc. Google Now can also access your Gmail and provide information related to package deliveries, upcoming events, flight information, and many other things. There’s just no limit to what you can do with this productivity boosting app!Click here here for a list of common Google Now commands that you can start using right away!