Apps like Shazam are the best way to find the name of a song that you don't know. However, most of them are only available on Android and maybe for iPhones as well. But what if we told you that there is a way to get Shazam for PC?
In fact, there are multiple ways - and we'll mention those that make the most sense. There is no doubt that the easiest one is using an emulator like Bluestacks. So, without any further ado, let's get right into it!
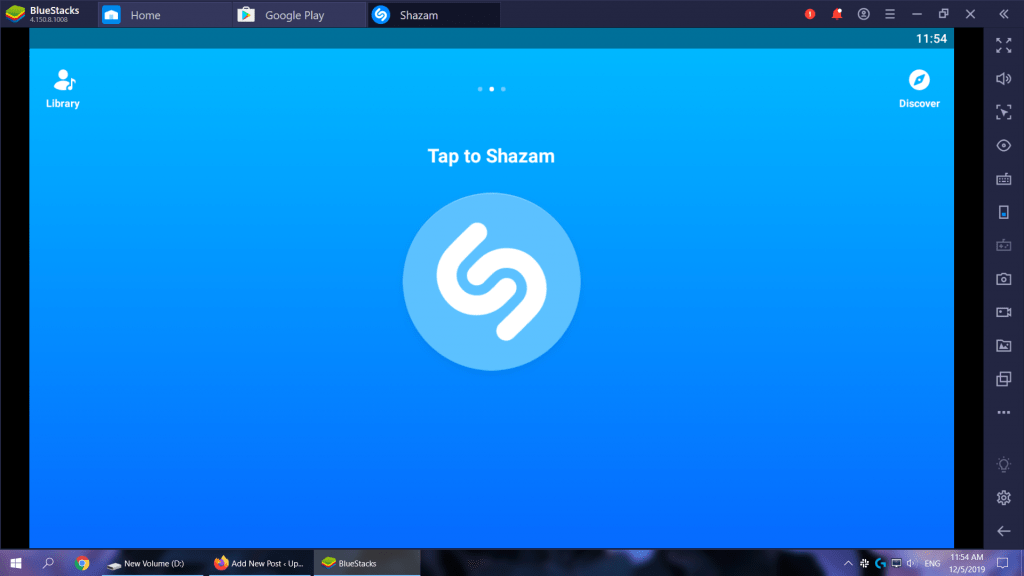
How to Get Shazam for PC With Bluestacks
In case you're not familiar with it, Bluestacks is an Android emulator that you can install on a Windows or Mac computer. It's an easy way to run Android and Android apps from your PC without having to install an actual Android port or anything like that.
This allows us to run Android apps and games from our computer with relative ease. And in our case, this includes Shazam as well. Here are the steps that you need to follow in order to set this up:
- Head over to Bluestacks' website then download and install the emulator
- Follow the on-screen instructions to proceed with the installation
- Log-in to your Google account (You're going to need your email and password for that)
- Open Google Play
- Install Shazam
- And start using it as you normally would
Do keep in mind that even an Android emulator can be quite tough on budget/low-end computers. And, of course, you're going to need a mic in order for this to work - be it from a headset or a dedicated one.
AMD users will likely want to enable virtualization as well in order to greatly improve the performance of both the app and the PC itself (While the emulator is running).
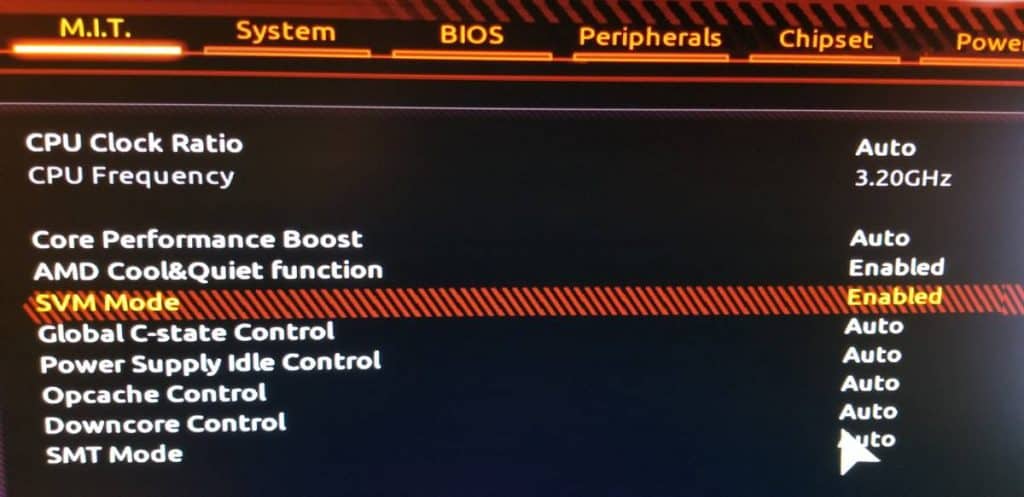
The exact steps that you need to follow for this to work will differ from motherboard to motherboard. But, you should generally be able to find the option somewhere in your BIOS. In this case, Google is your friend.
For our MSI B450 Pro M2 V2 mobo, the process was as easy as rebooting into the BIOS, typing SVM on the search bar, and turning it On. But, again, your mileage may vary depending on the motherboard.
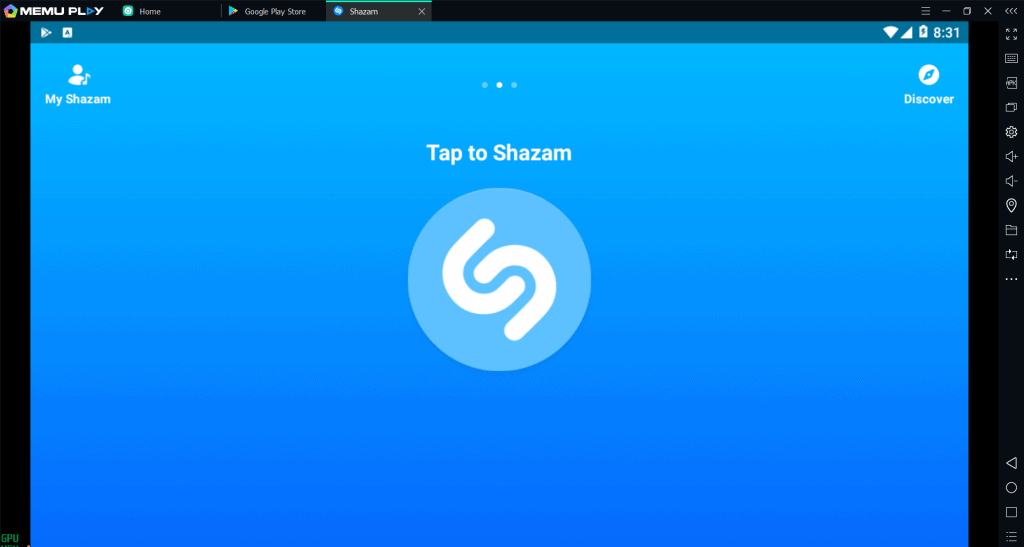
How to Get Shazam for PC With MEmu
MEmu Play is much like Bluestacks - just another Android emulator. The two of them are actually some of the very few decent emulators that support Shazam as well.
For some reason, Genymotion and many other Android-based emulators which rely on VirtualBox in order to work refused to cooperate with Shazam.
However, we personally tried it on MEmu and it works just fine. So, if Bluestacks didn't do the trick for you, then this is your next best bet.
To get Shazam for PC by using MEmu:
- Head over to MEmu's official website
- Download it by using either the online or offline installer (They are more or less the same but those of you who are using a slower connection may prefer the offline variant)
- Follow the on-screen instructions to install it
- Keep an eye out on the adware and decline the offer (Unless you like the recommendation, of course)
- Once it's ready, open Google Play and log in to your account by using your email and password
- Install Shazam through it
- And that should be all there is to it
Just like with Bluestacks, if you want to get the best performance, then enabling CPU virtualization is a must. Again, this is enabled by default on Intel processors - but not on AMD ones.
While Bluestacks worked just fine on our Ryzen 5 2600 regardless of SVM settings, MEmu refused to even launch with SVM off. The welcome screen mentioned that we should expect 10x worse performance with SVM disabled - but not that the emulator wouldn't launch in the first place.

Your mileage may vary depending on the computer and the version of MEmu that you're running. But, heading over to Google and finding how to enable virtualization on your motherboard is generally highly recommended!
How to Run Shazam Natively
As you probably already know, Shazam is not available for Windows. However, that's not to say that you can't run Android natively on PC.
Pay attention, now. We're not talking about emulators here. We're talking about running Android just like you're running Windows, Mac, Linux, or any other OS.
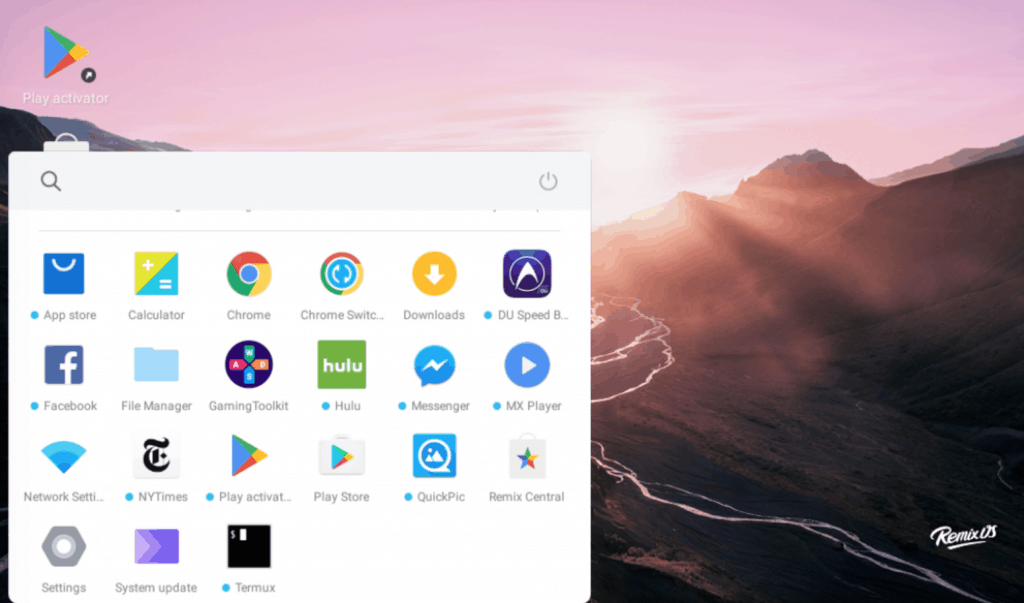
The easiest Android port to configure for Windows desktops is without a doubt Remix OS.
Truth be told, we couldn't get it to work normally on our AMD machine. But, we suppose that everything should work out just fine for Intel users. After all, there are tons of people who recommend it.
Here's what you need to do in order to get it up and running:
- Download Remix OS from Fosshub
- Unzip the files anywhere you want with the program of your choice (7Zip is quite popular)
- Use Rufus to write the OS on to an external hard drive or USB thumb drive (Do keep in mind that everything on that drive will be deleted)
- Reboot into the BIOS
- Make your external drive a boot priority (The exact process differs from motherboard to motherboard - refer to the manual or to online help for more details)
- And after rebooting, your PC should boot into Android - aka Remix OS
There are obviously a few UI changes to make the OS feel a bit more desktop-friendly. But, other than that, it's good old Android.
So, from here on out, you can go ahead and install Shazam, social apps, or anything else you may want to use on an Android-based PC.
Just do keep in mind that as we mentioned above, this is unlikely to work on AMD builds. We managed to get in with the guest mode, but the OS refused to work with Google Play and most of the other basic functionalities.
Wrapping Up
These are the basic methods to run Shazam on PC for now. You can go ahead and pick whatever fits you best. But, in most cases, Bluestacks is going to be more than enough.
Bluestacks is also the only option here that works flawlessly with AMD processors - even without bothering to enable CPU Virtualization.
Feel like we forgot to mention something important? Got anything wrong? Then let us and everyone else know about it in the comments section down below!
Like what you see? Then don't forget to follow us on Facebook and Twitter for the latest news, reviews, listicles, apps, games, devices, how-to guides, and more!